
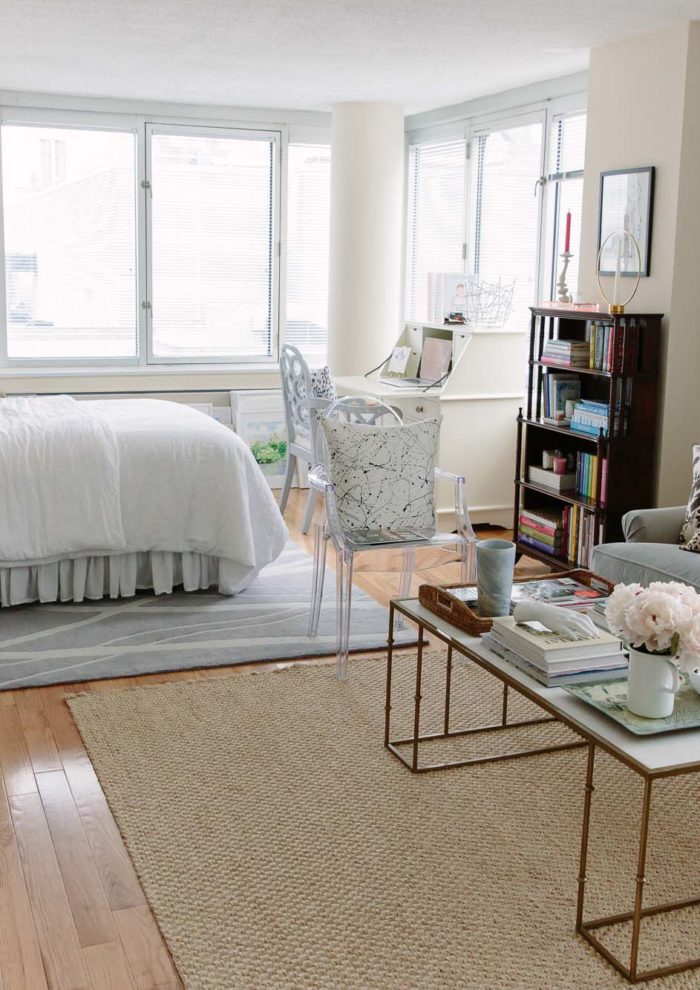
One of the first things I did upon moving into my new apartment was get my gallery wall up. For a while I waffled, thinking I should wait until I got my new sofa so I would know exactly where to place everything…but then I decided who knows when that will happen, plus I was super sick of the piles of framed art laying around, so I just went for it. Six months later and still without a new sofa, I’m very glad I made that decision! Sometimes you can’t wait for all of the perfect circumstances to align before you do something, you just have to do it. And getting that art off the floor and onto the wall made such a big difference towards getting this place to feel like home.
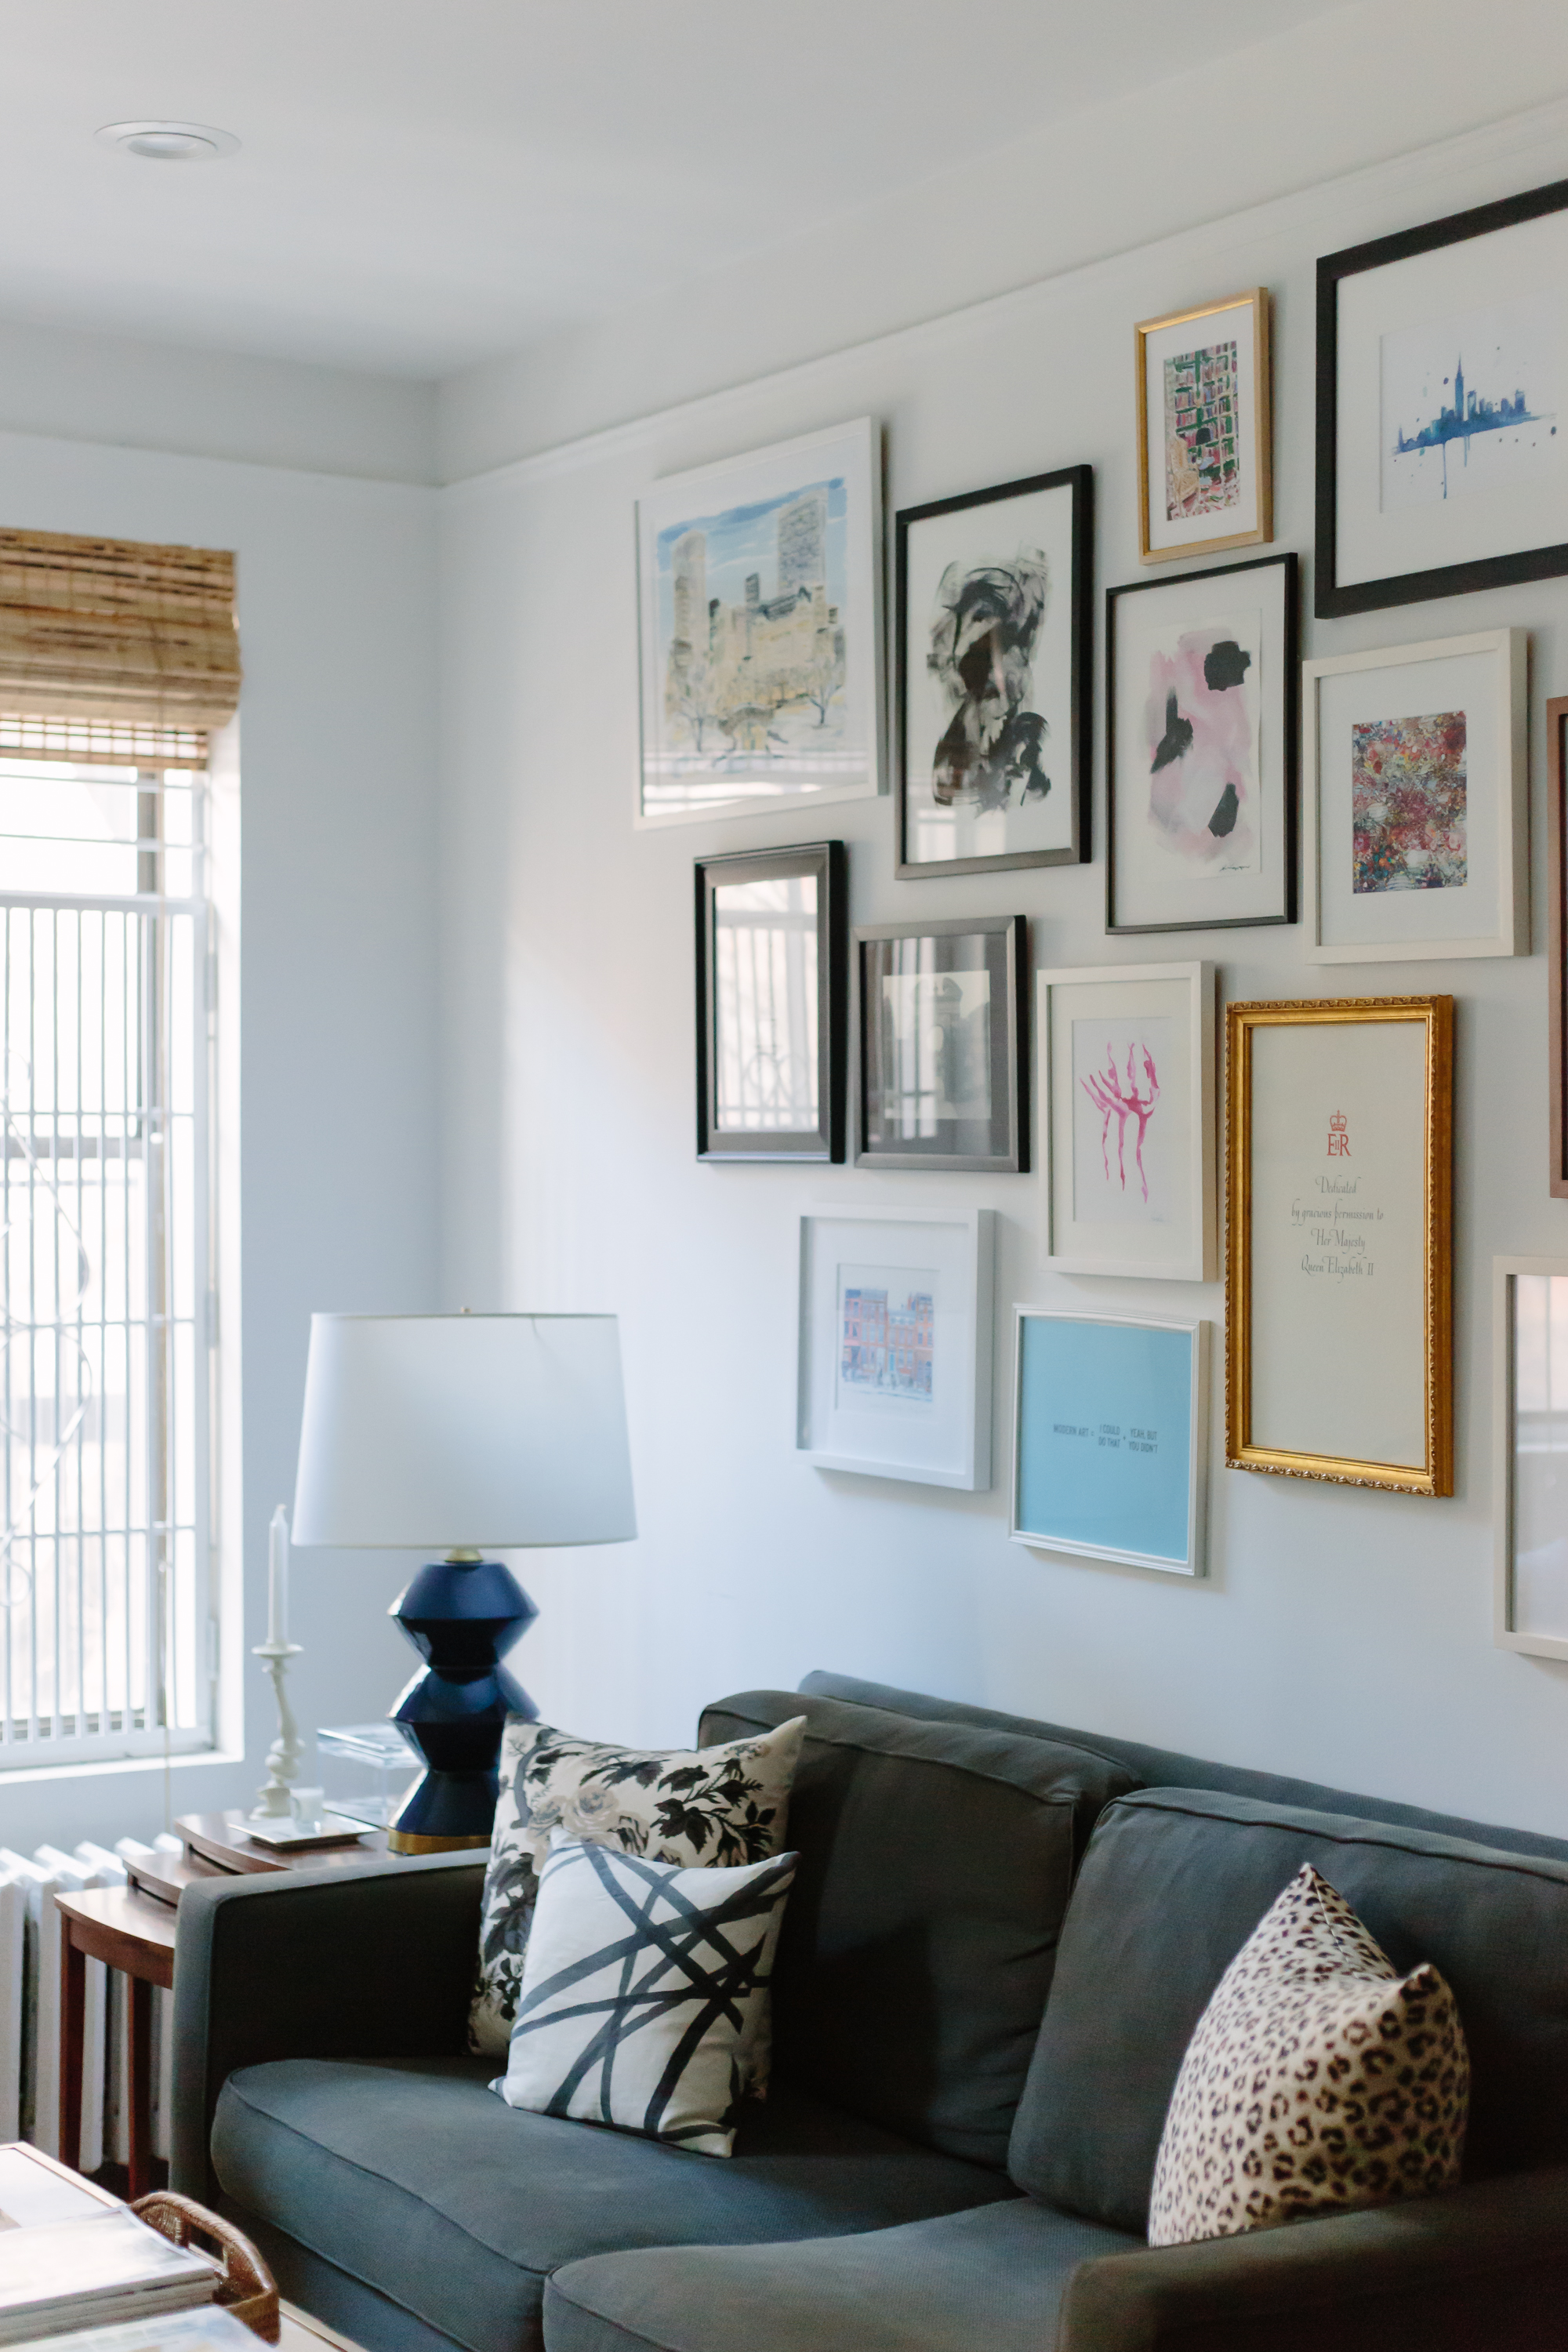
I took the opportunity of moving into a new place and creating a new gallery wall to cull my collection and get rid of any prints or pieces that didn’t totally appeal to me anymore. I have SO MUCH more wall space in this apartment, which I’m really thrilled about, as I had fully run out of walls in my previous place (but never seem to run out of new art to buy). I love how this looks currently but I could see myself adding to it and extending it out to the sides more.
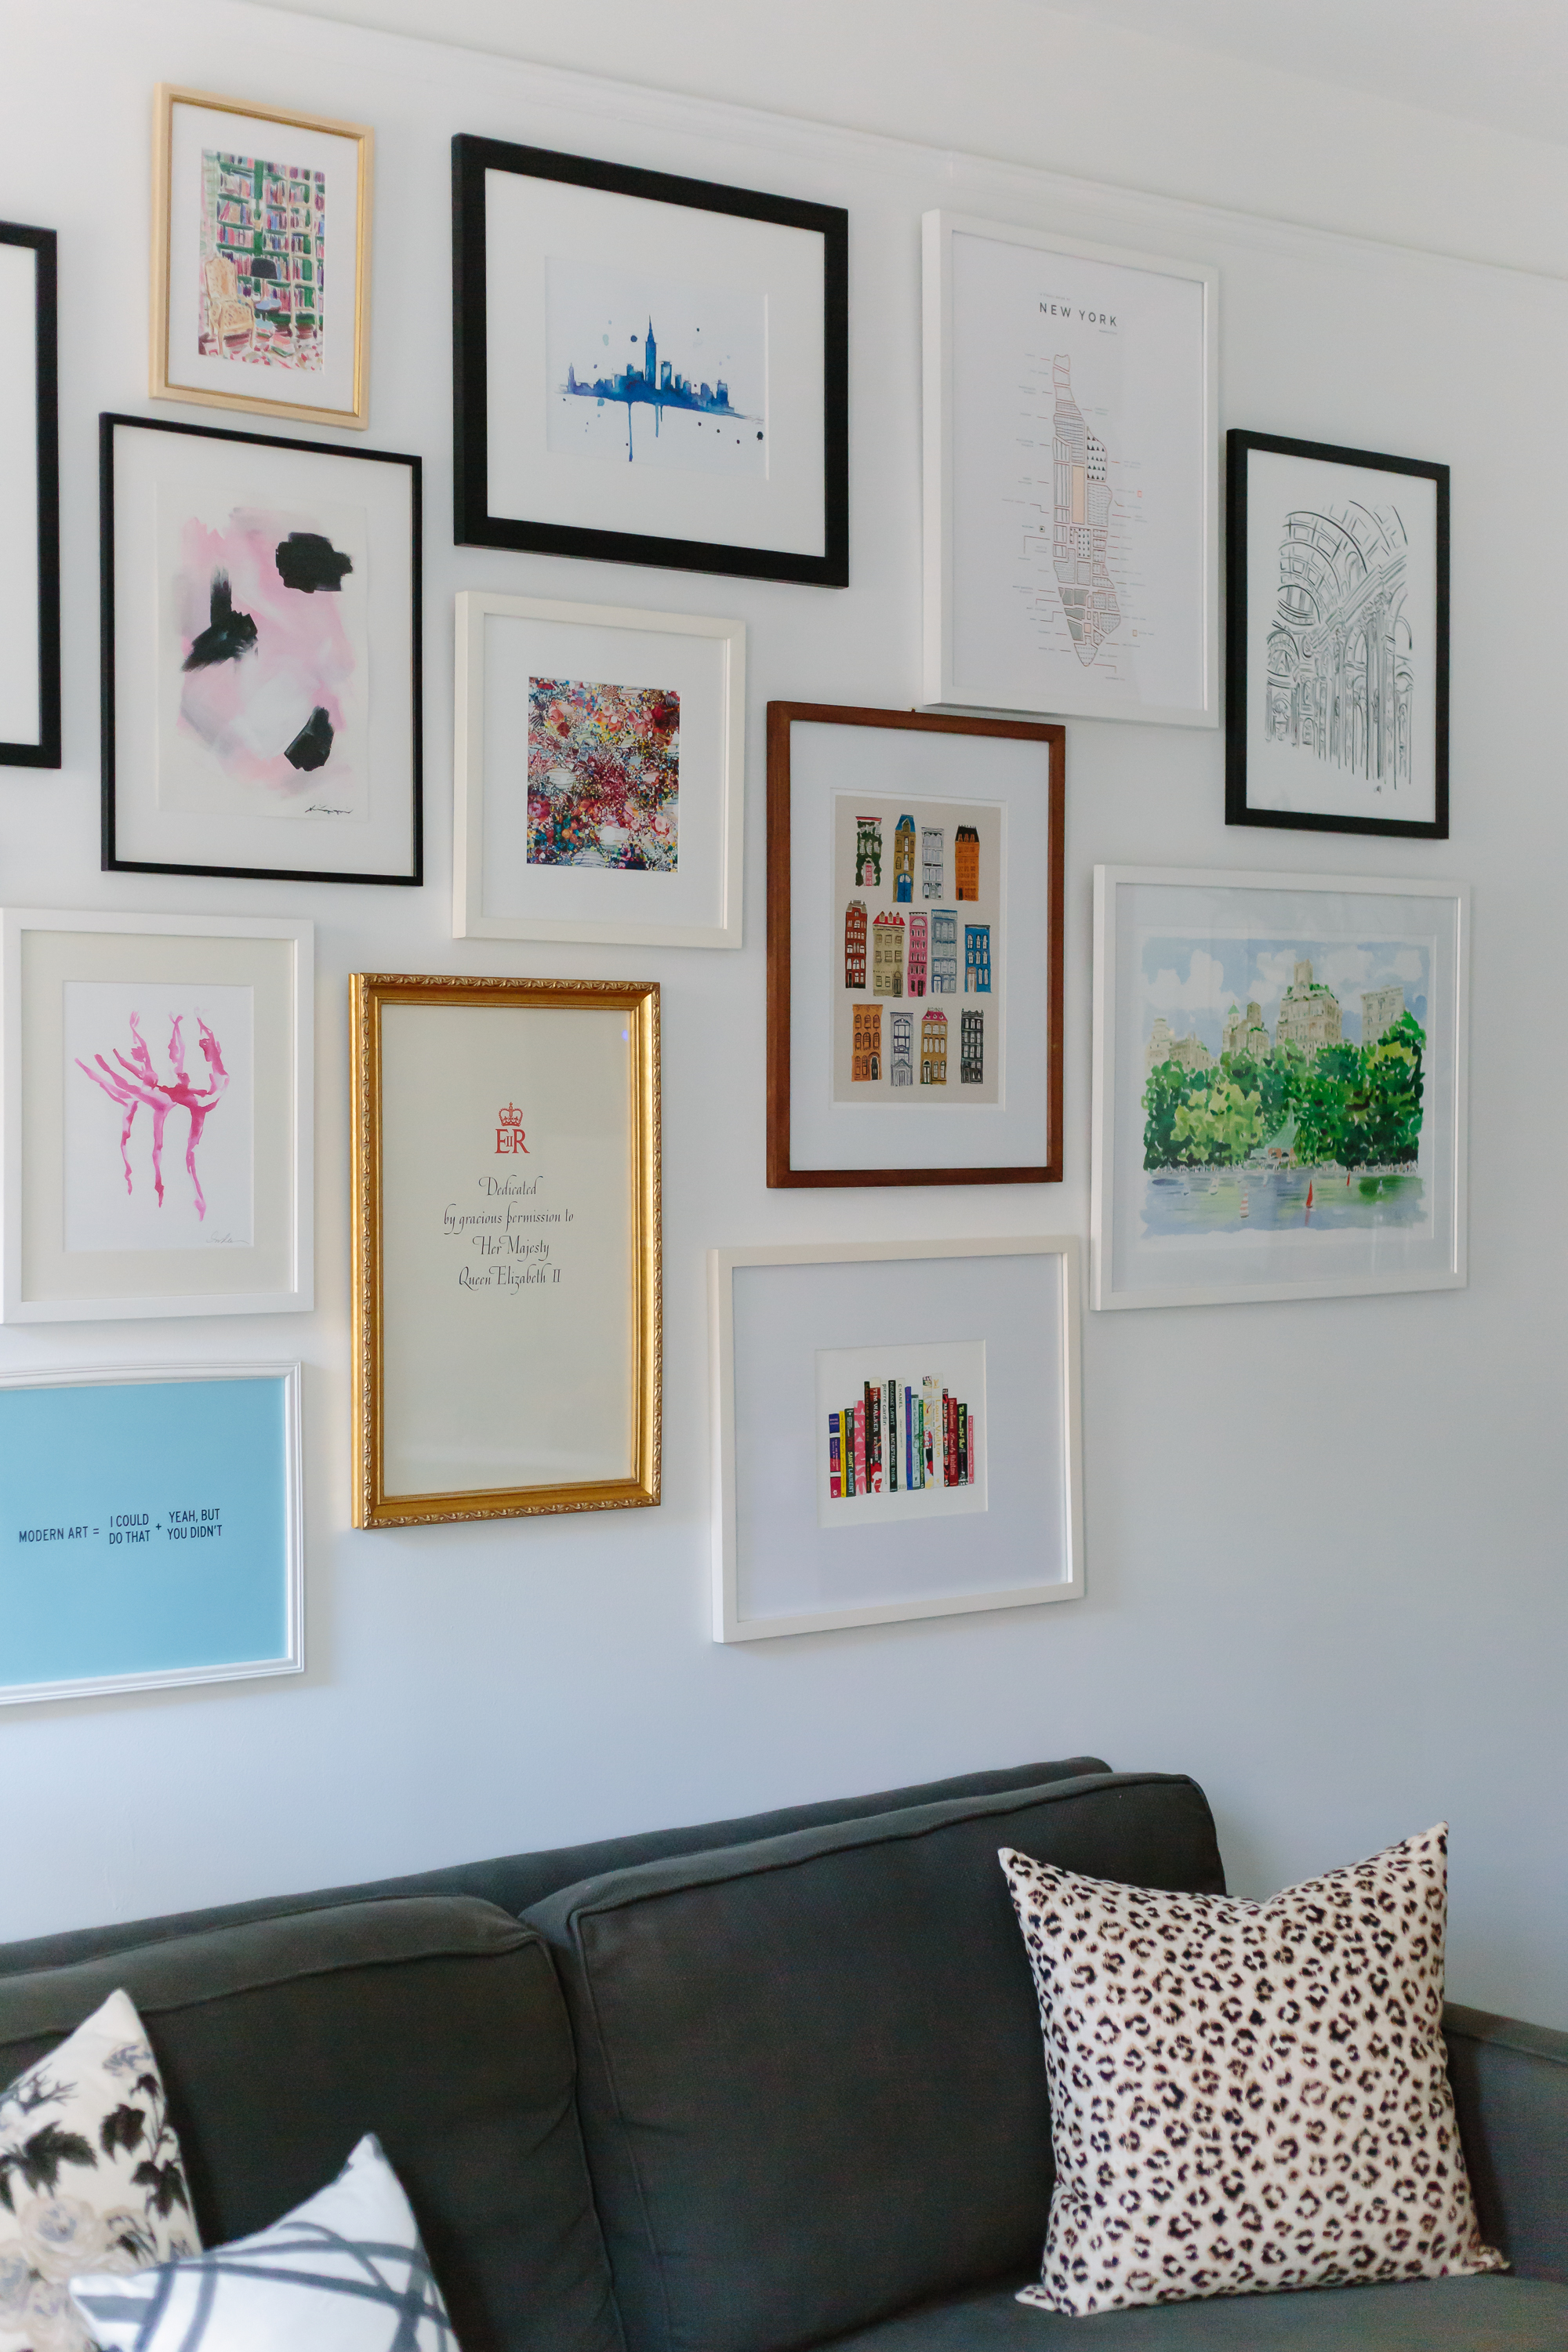
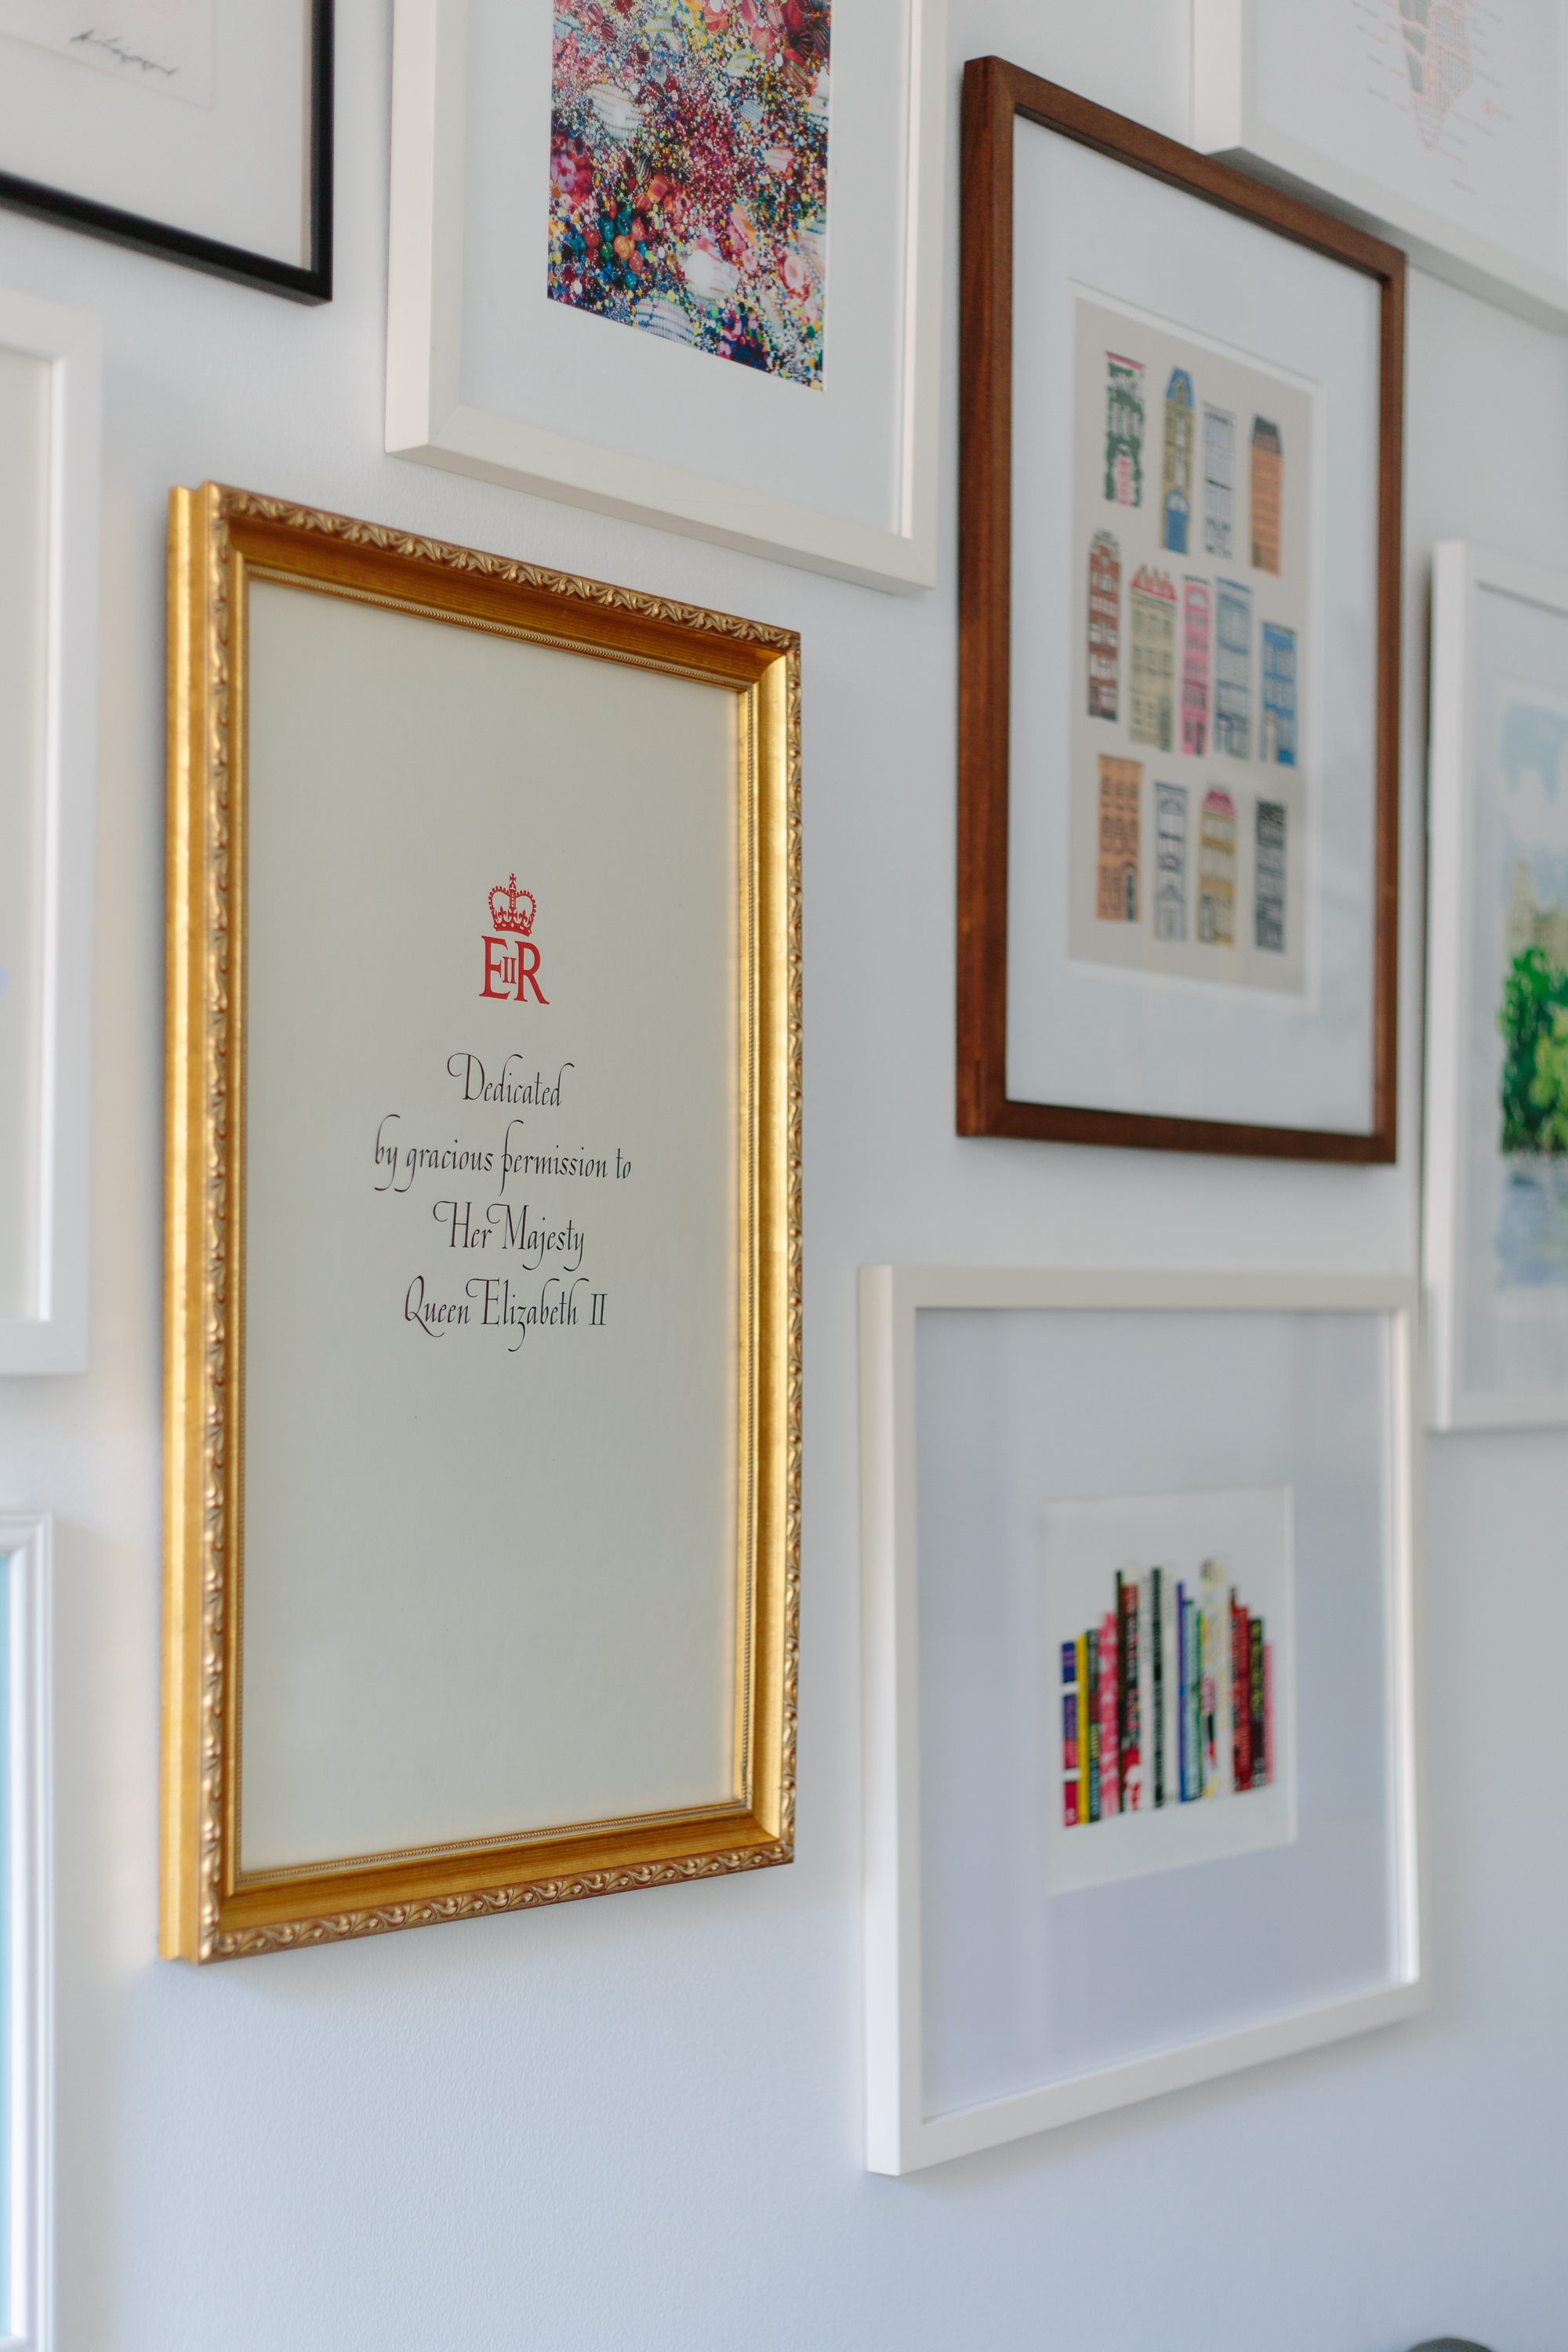
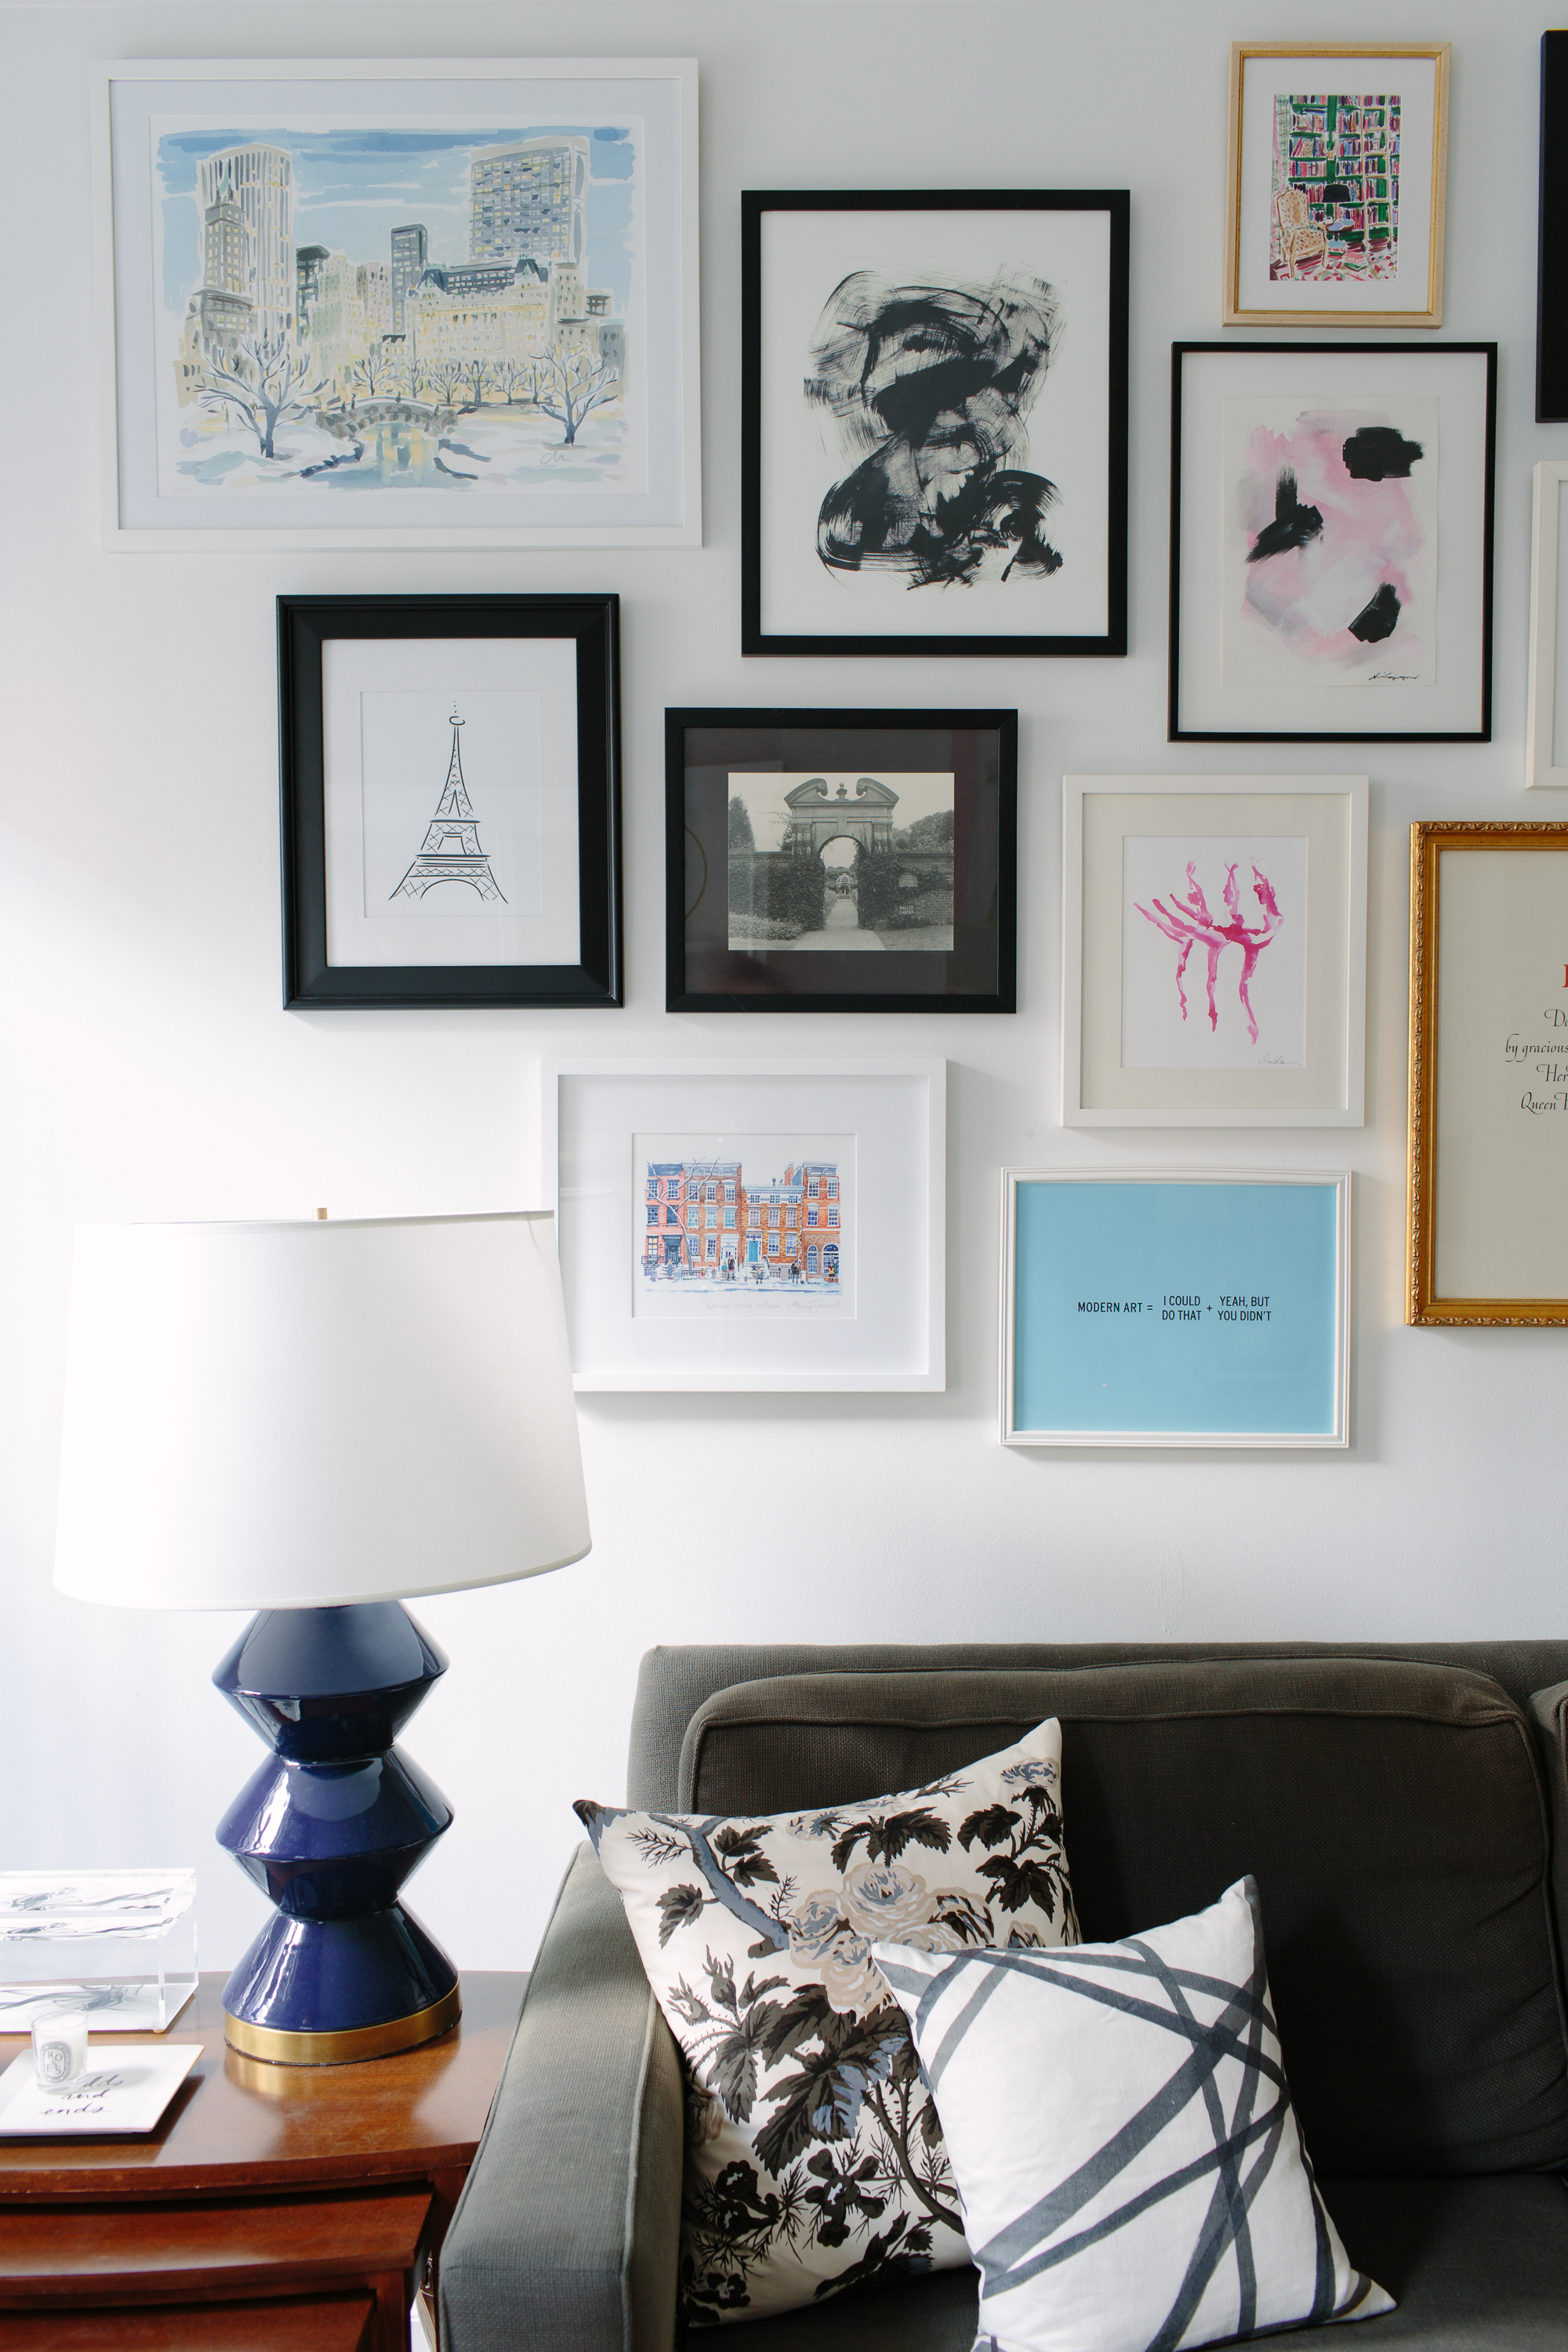
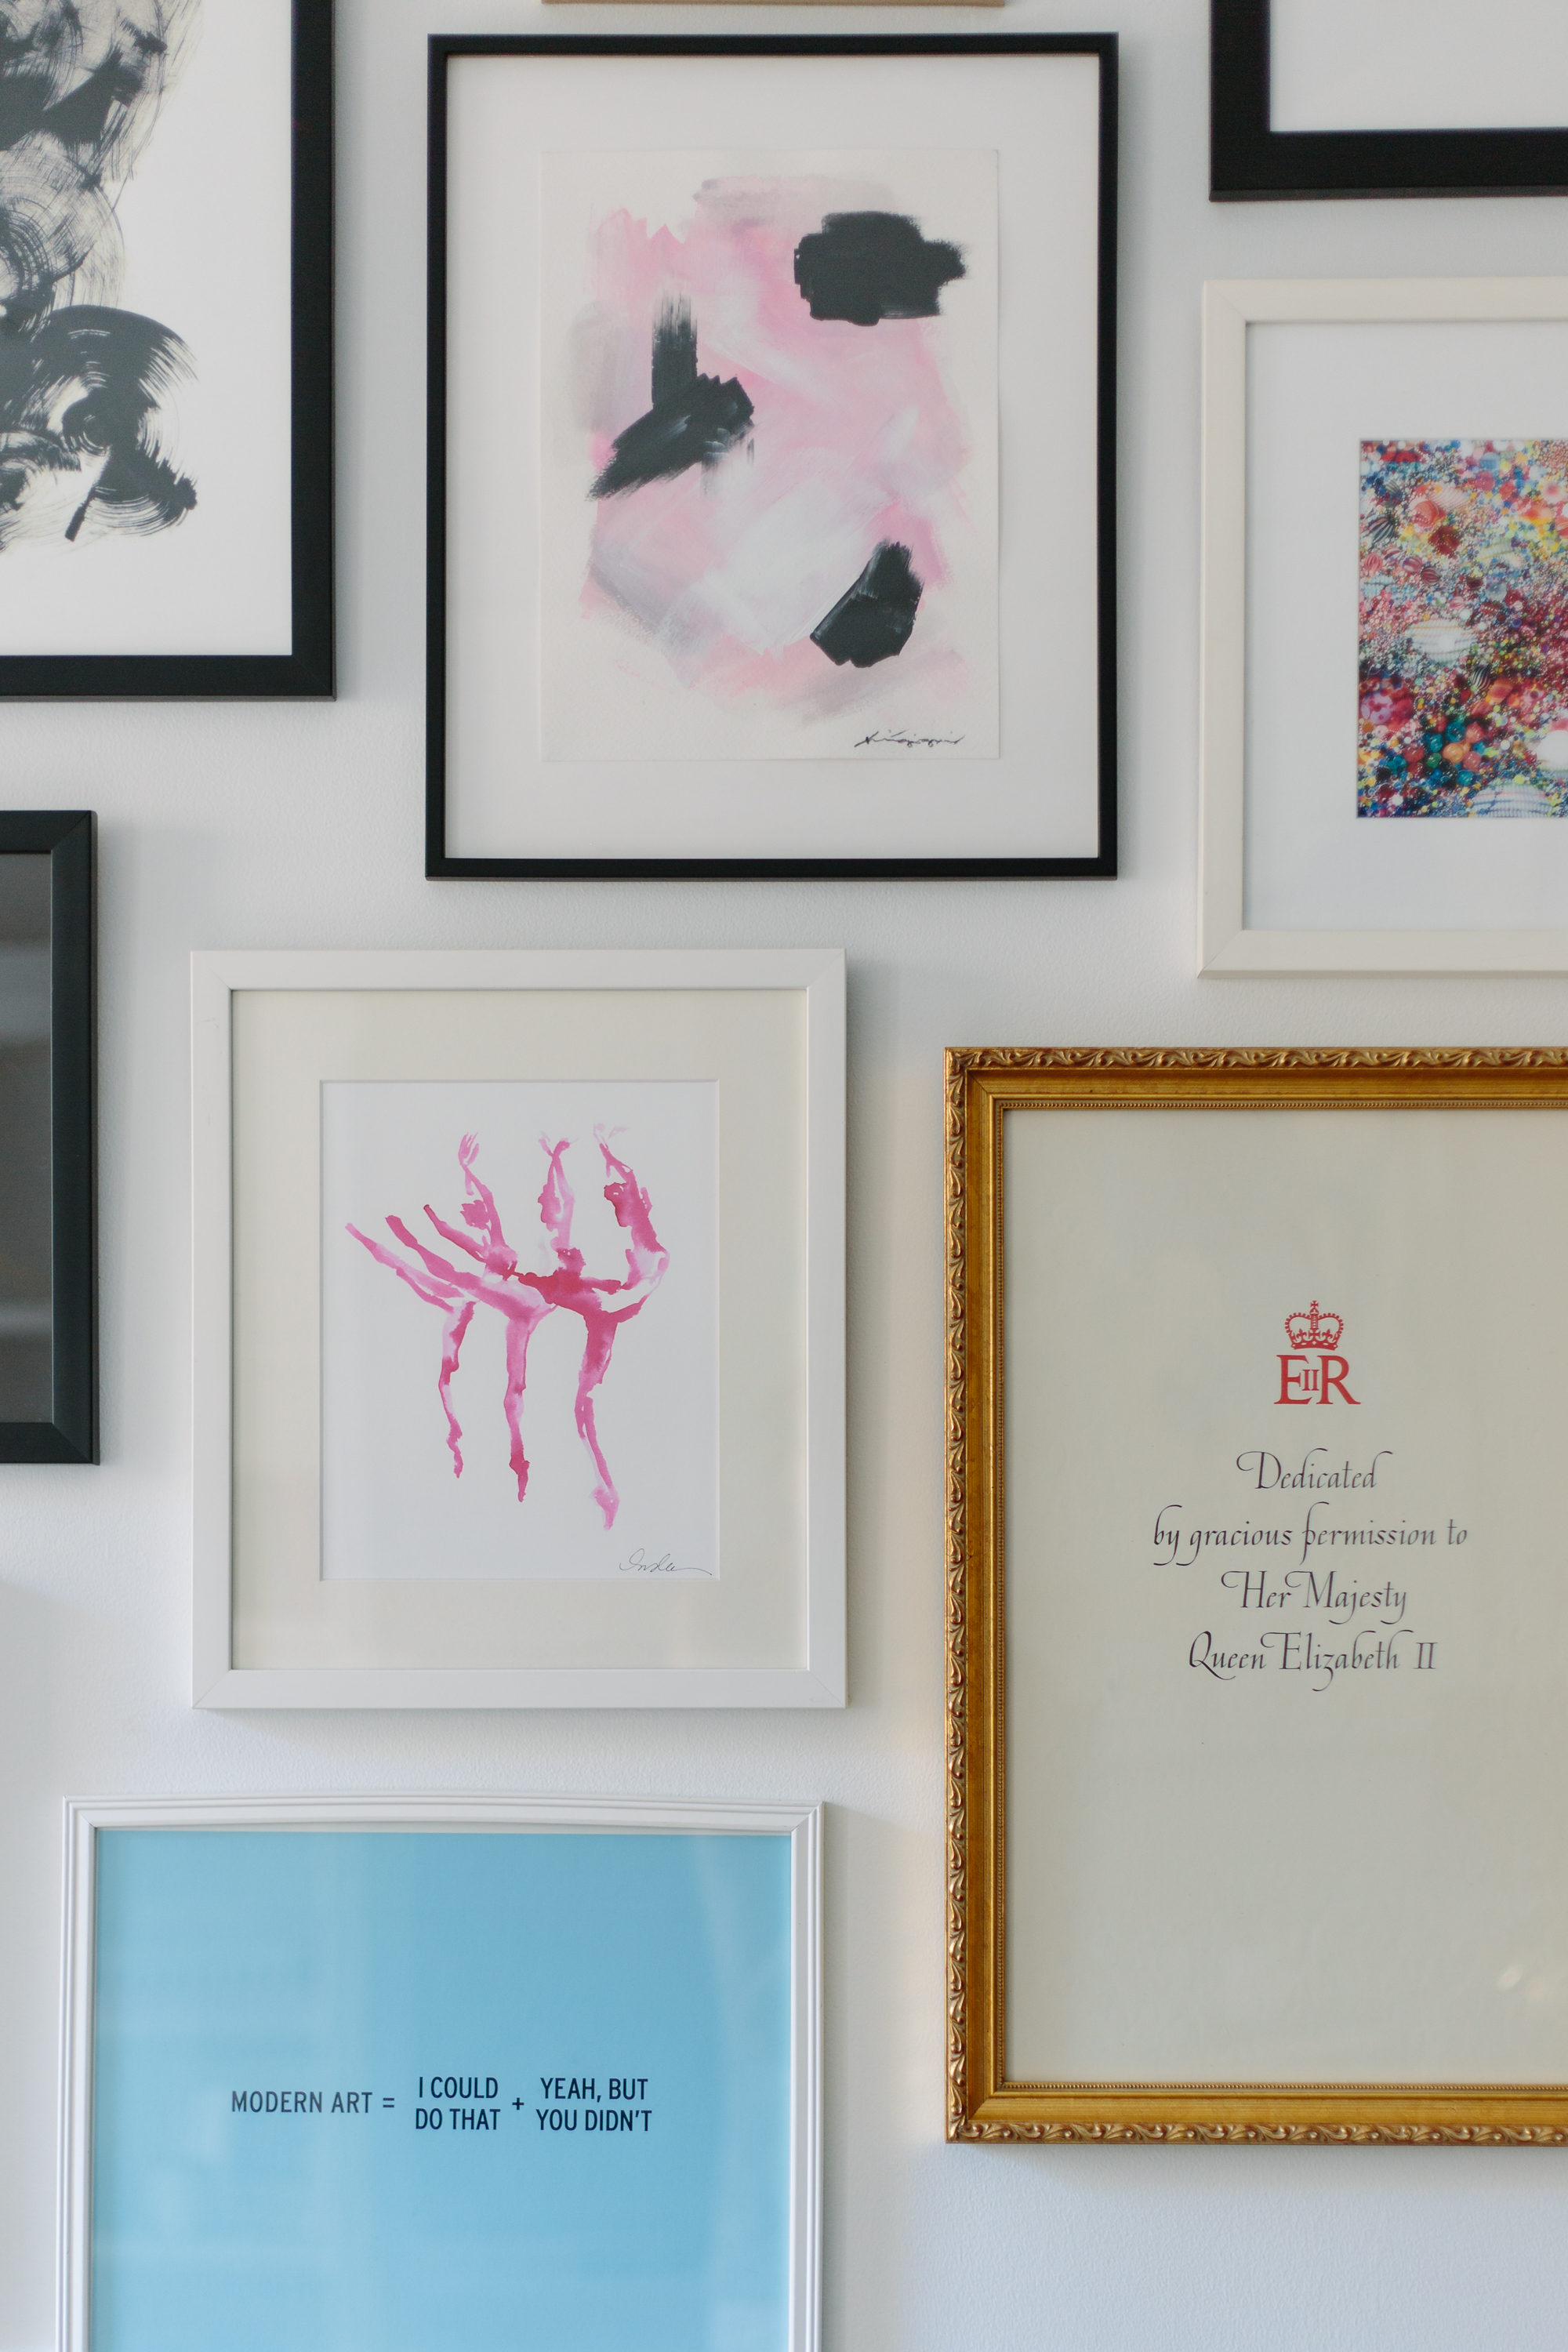
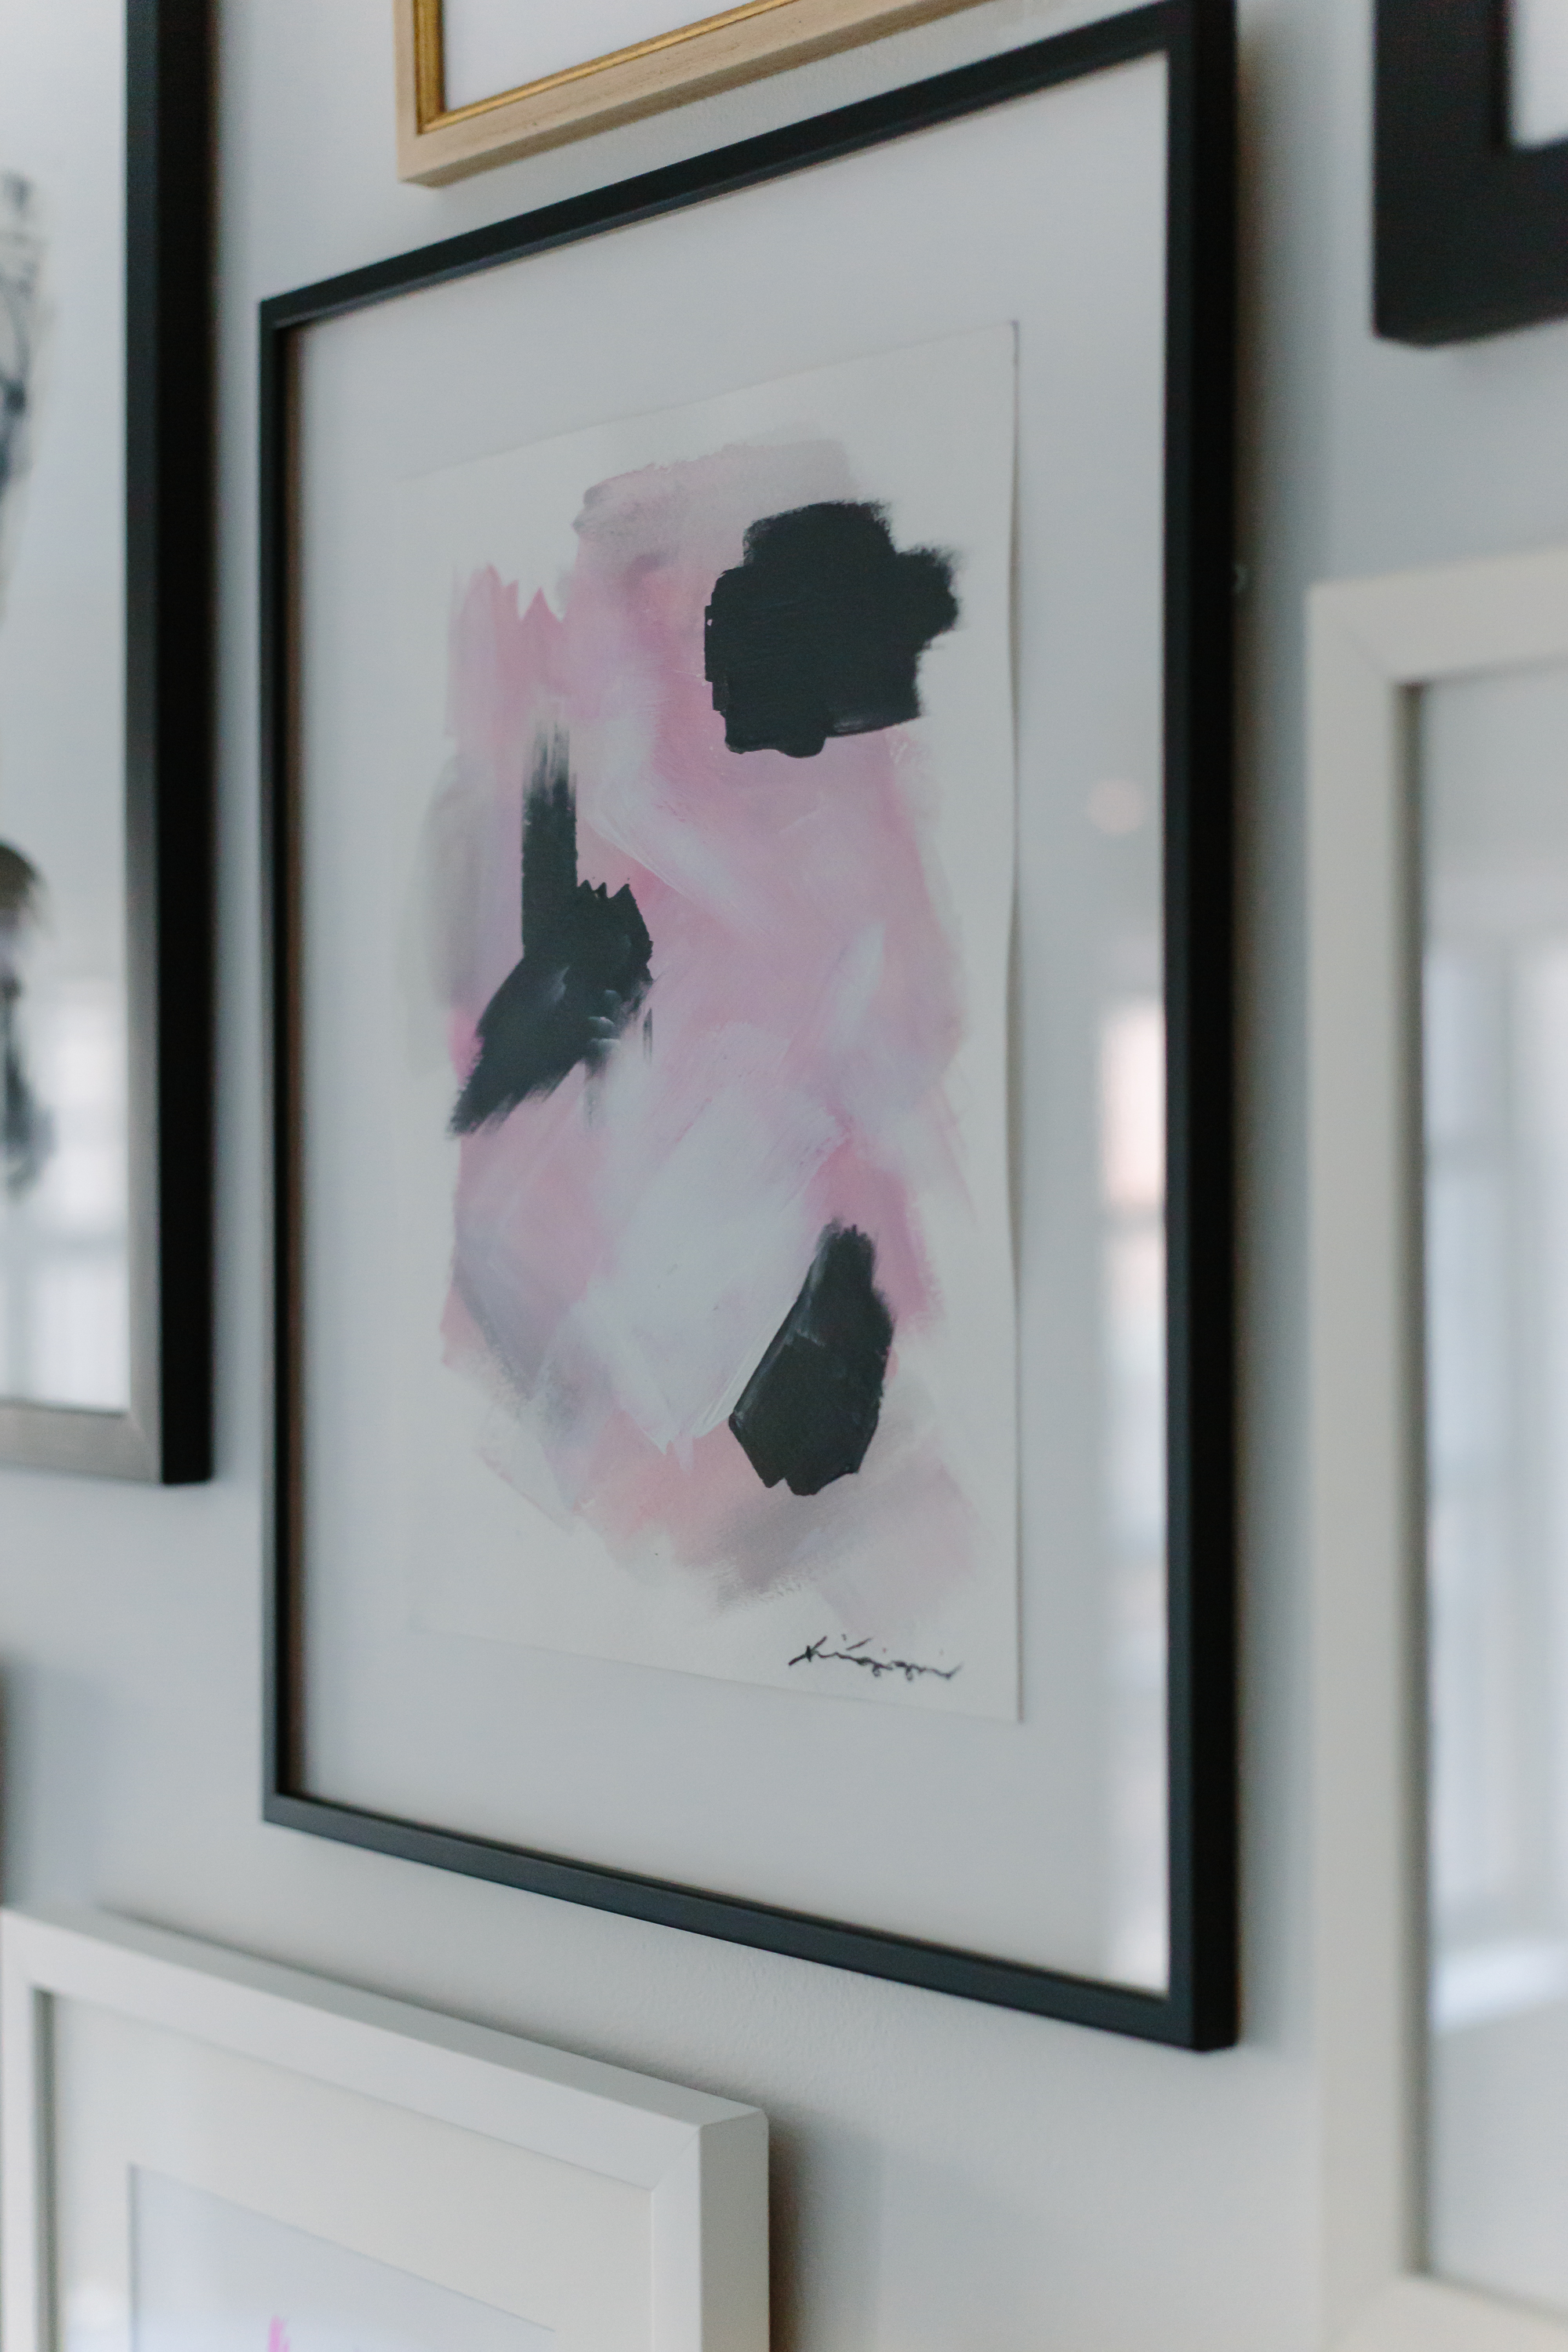
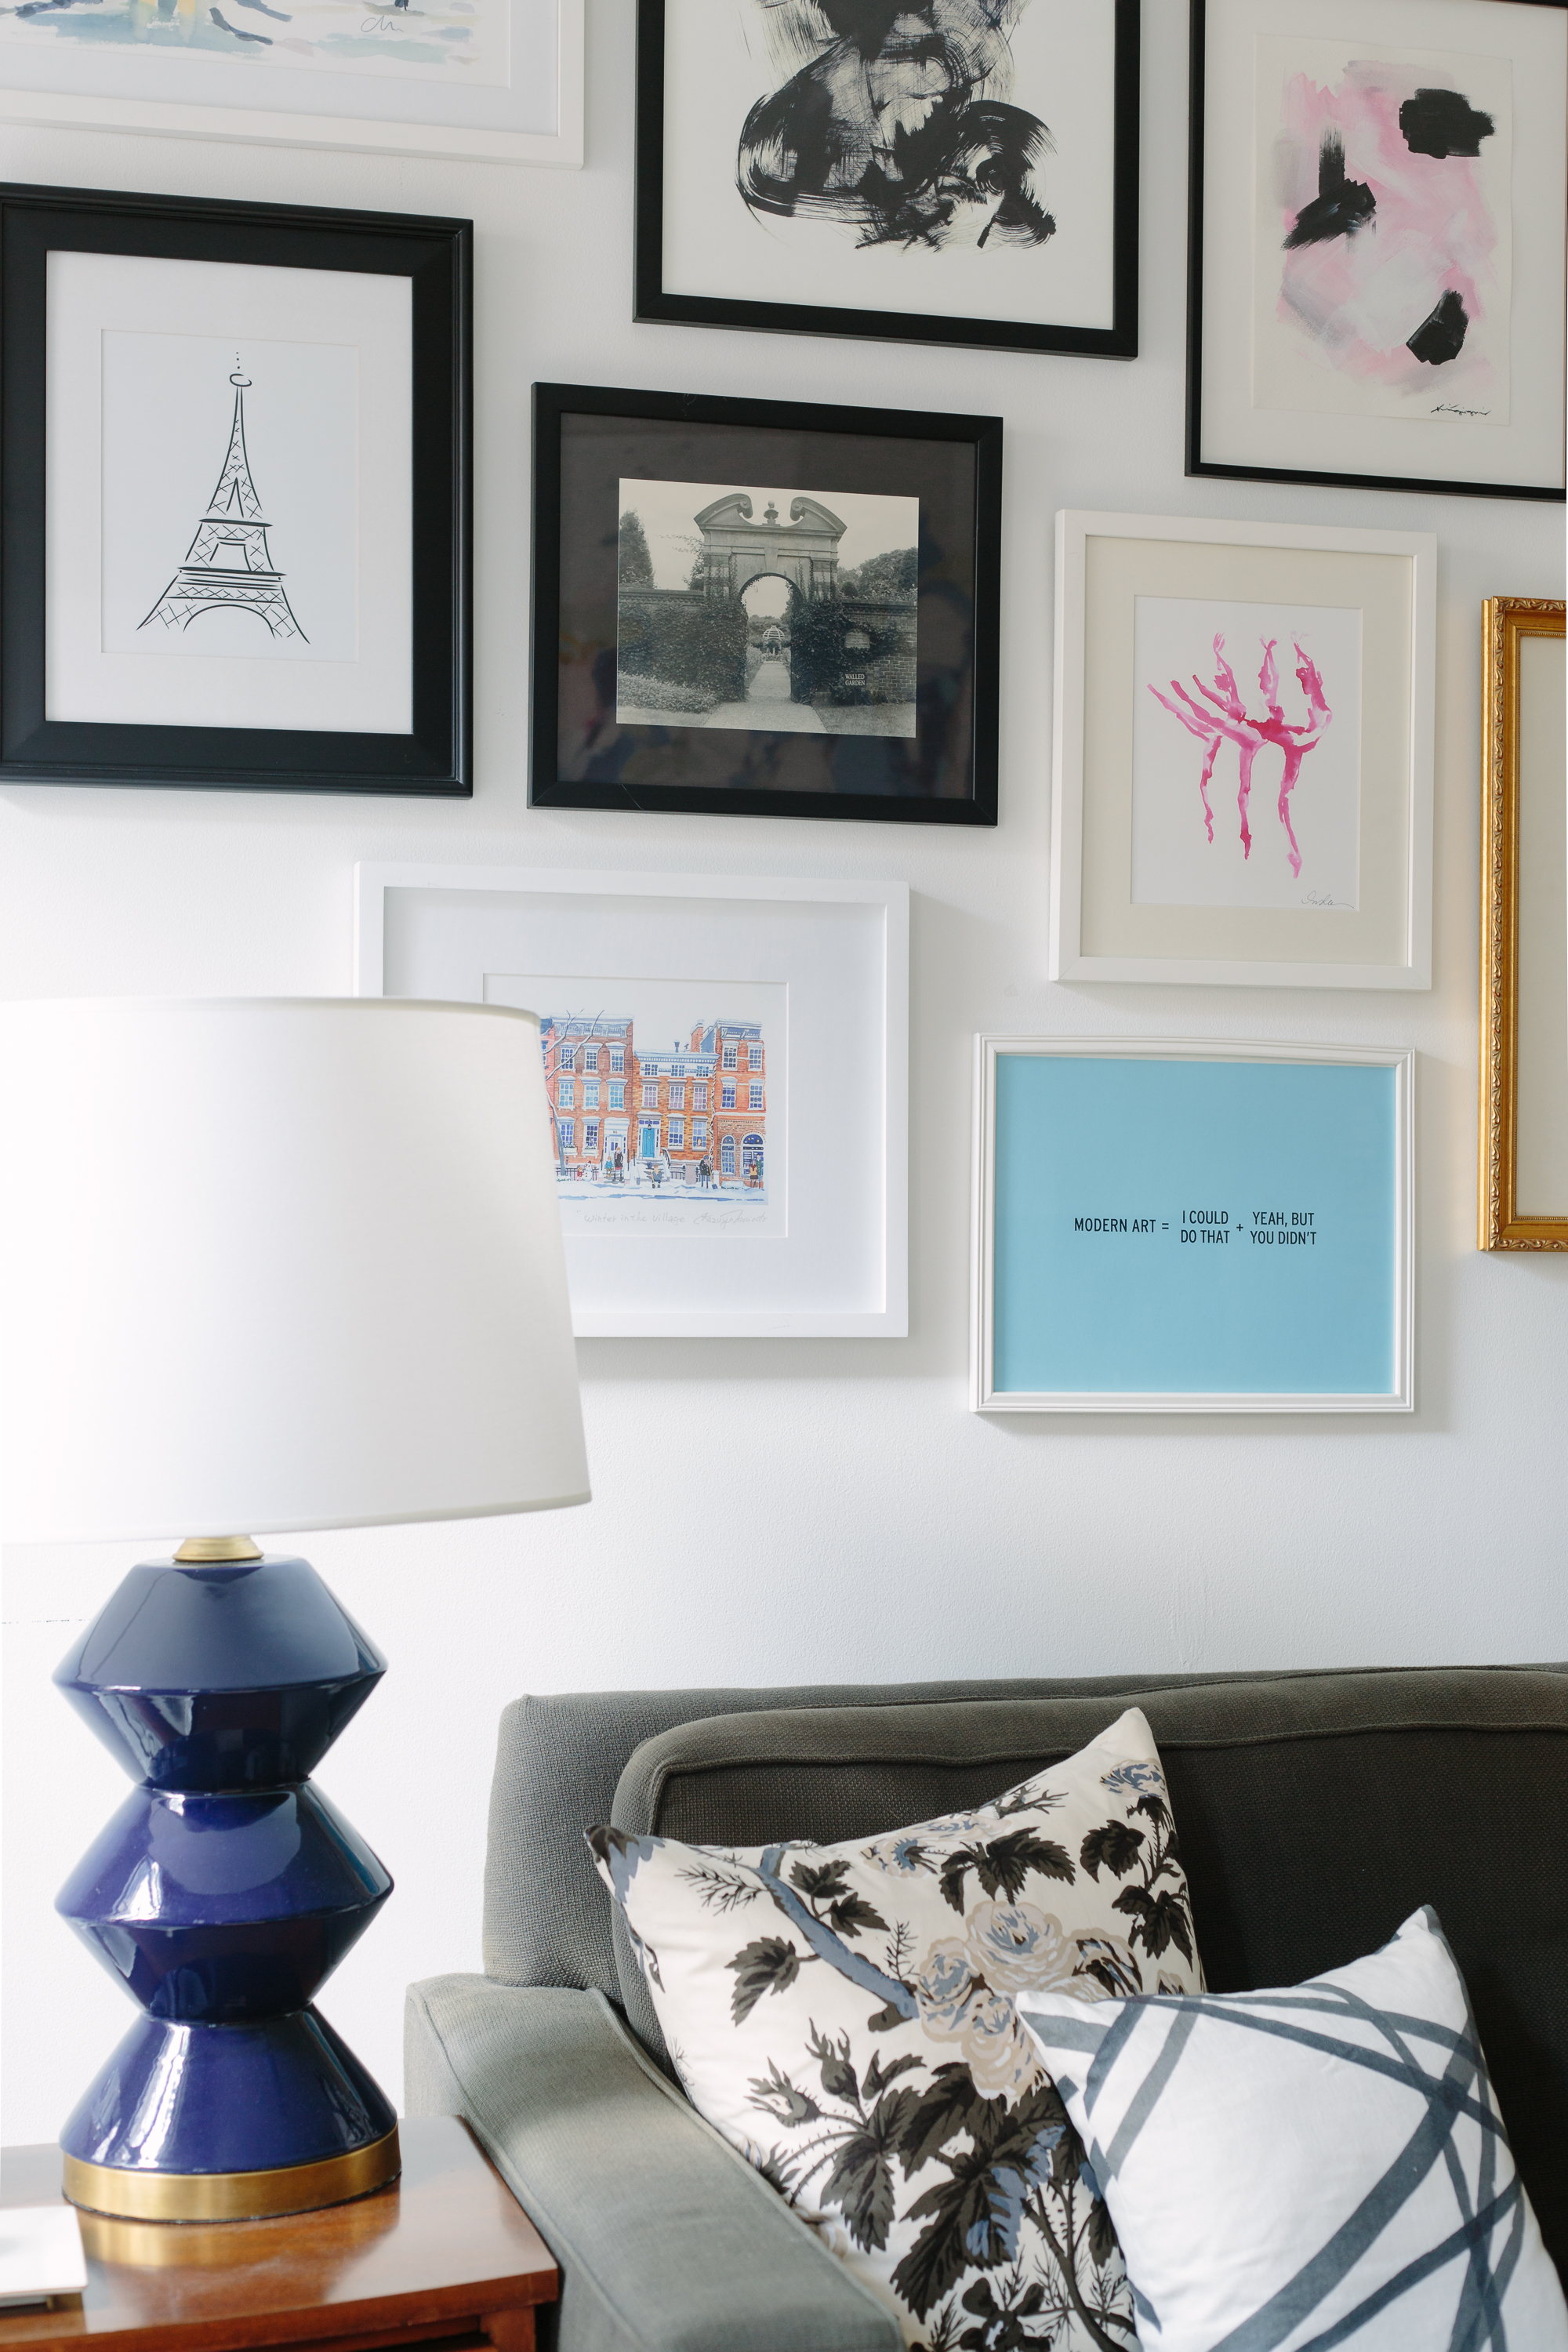
As I always do when building a gallery wall, I mixed all different frame colors and sizes, along with art of varying mediums – paintings, photography, prints, vintage, new, abstracts, illustrations…the more eclectic, the better in my book! The more varying sizes of frames you have for a gallery wall, the better. Different sizes help in terms of avoiding the dreaded (to me), rows and columns arrangement. You don’t want your art to be in rows and columns (unless you’re doing a grid) – you really want it took more random almost zig-zagged, if that makes sense. Whenever I start laying out a gallery wall, it somehow always gets into rows and columns and I have to actively rearrange it to get a more eclectic look.
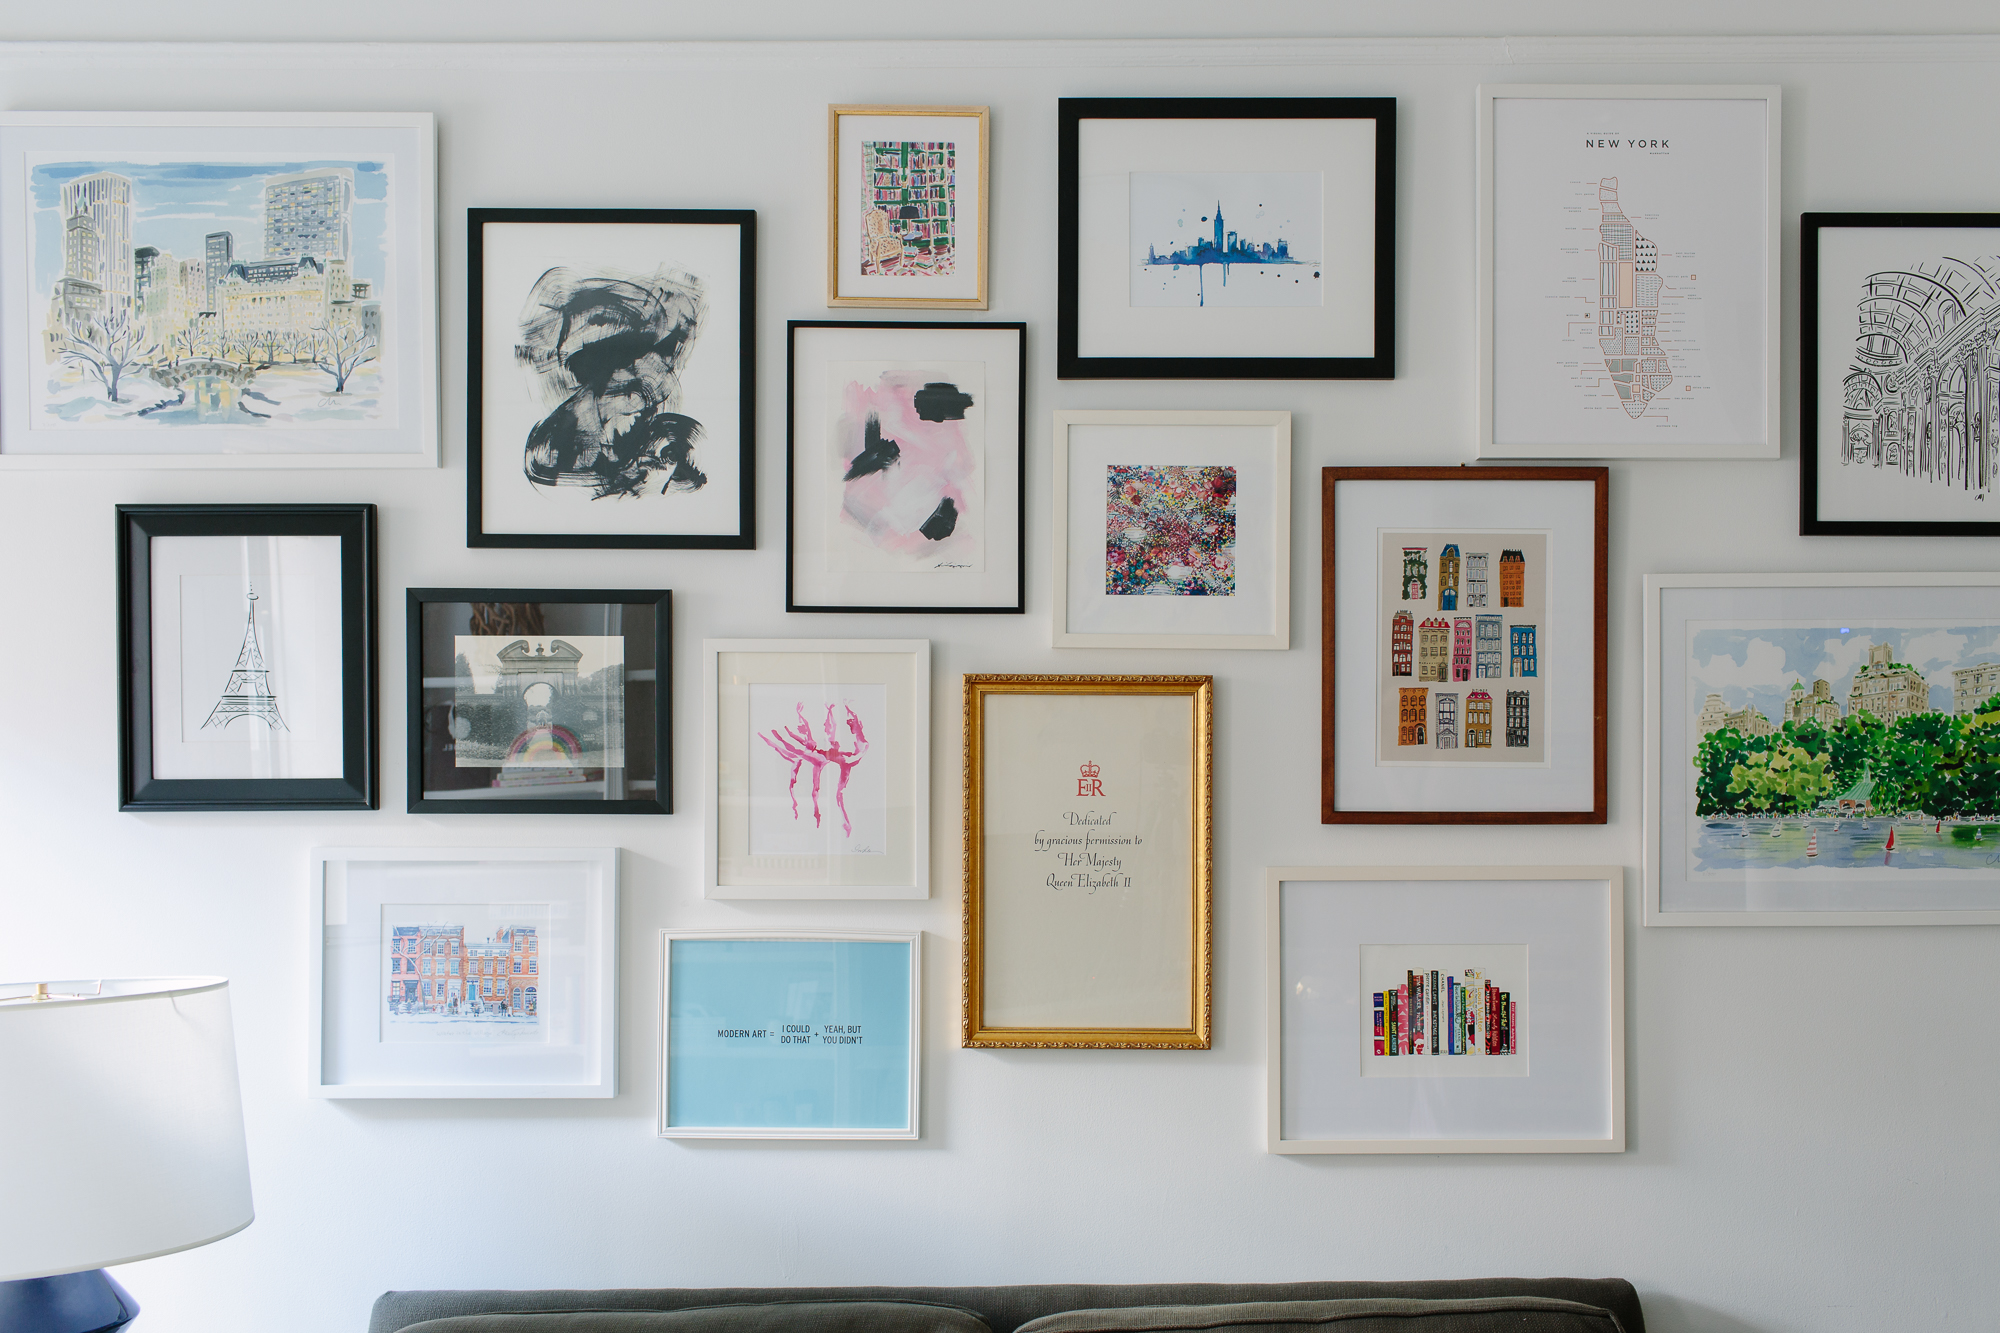
Basically I just keep arranging and rearranging (using the paper cutouts I discuss below) until it looks right to my eye and before I make any actual holes in the wall. I attempted to make the spacing between and around each piece relatively even (although it’s certainly not perfect), and I also tried to mix it up – not putting two Caitlin McGauleys next to each other, for instance. You can actually see where I placed the two large Caitlin McGauleys in the upper left and lower right corners – since they’re the same size, and very large, they balance the visual weight of the arrangement when they’re opposite each other like that.

I thought it might be helpful to include some step-by-step instructions, so I created the graphic below!

Let me know if you have any questions or need any help with your gallery wall – even though I think they’re kind of a pain to physically hang, there’s nothing more fun than arranging your favorite art pieces and getting them to look just right together!

PS – how to find affordable art and create an art collection you’ll love.
I’ve always been too nervous to put together my own gallery wall–I’ve just stuck to standard displays!–but your ideas on how to visualize a gallery wall before hanging everything! Thanks for a great post, Jackie! I’m bookmarking for our future house 🙂
Sarah | all in the details
Looks great, and the tutorial is super helpful!
P.S. Love the modern art print (my husband hates modern art, lol)
Have you ever tried Command strips/hooks? No holes in the wall, especially in a rental.