Recently I had the opportunity to work with a really wonderful design client who wanted some help styling the living room bookshelves in her house. Bookshelf styling is one of my favorite things to do so I was really excited! It also helps that the client is super nice and has great style to begin with, which made my job very easy. We didn’t buy anything new – instead we just focused on utilizing what she already had and moving things around to make it all look as visually pleasing as possible. Here are some more details about what we did!
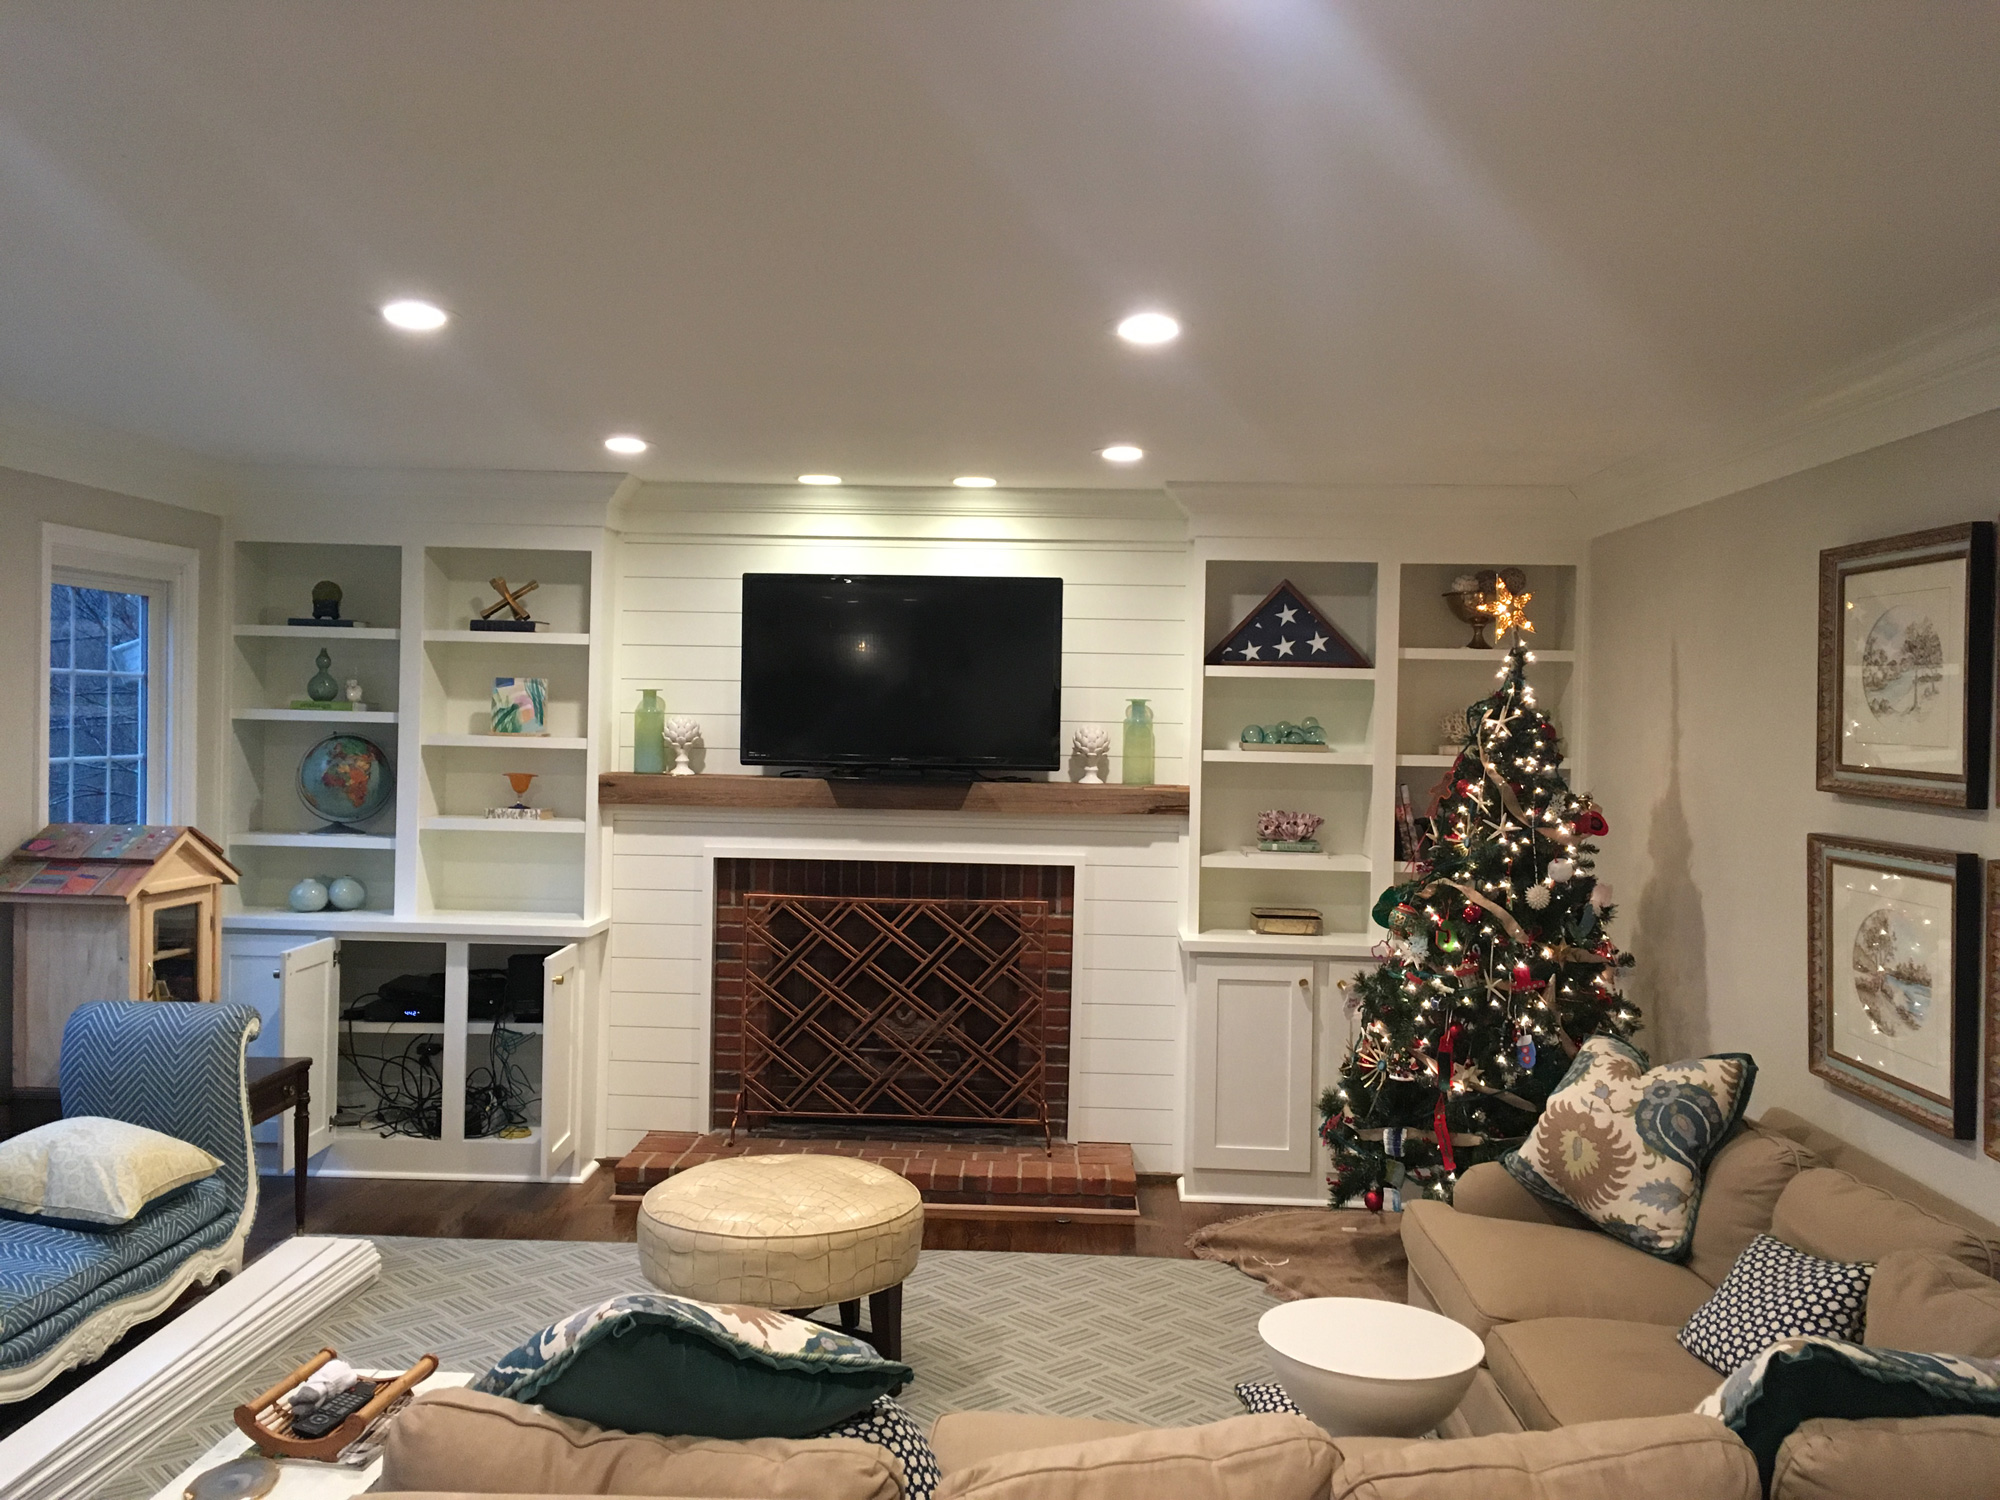
BEFORE:
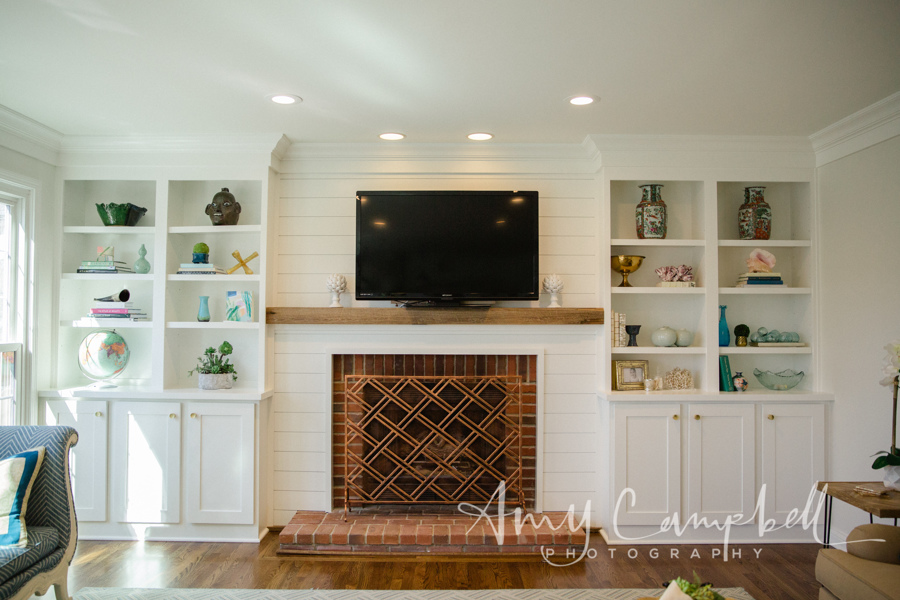
AFTER:
Here are some guidelines that I used while working with the client on this project:
Go shelf by shelf
If you like, you can empty everything out and start from scratch, but that’s not my favorite technique. I like to work shelf by shelf. It helps you sort of zero in on one section without getting overwhelmed by a whole big set of empty, looming shelves. After all, each shelf is a little vignette unto itself! From time to time you want to step back and make sure that it’s all gelling as a whole, but overall I like to work shelf by shelf and that’s what we did.
Create Anchors with Large Objects
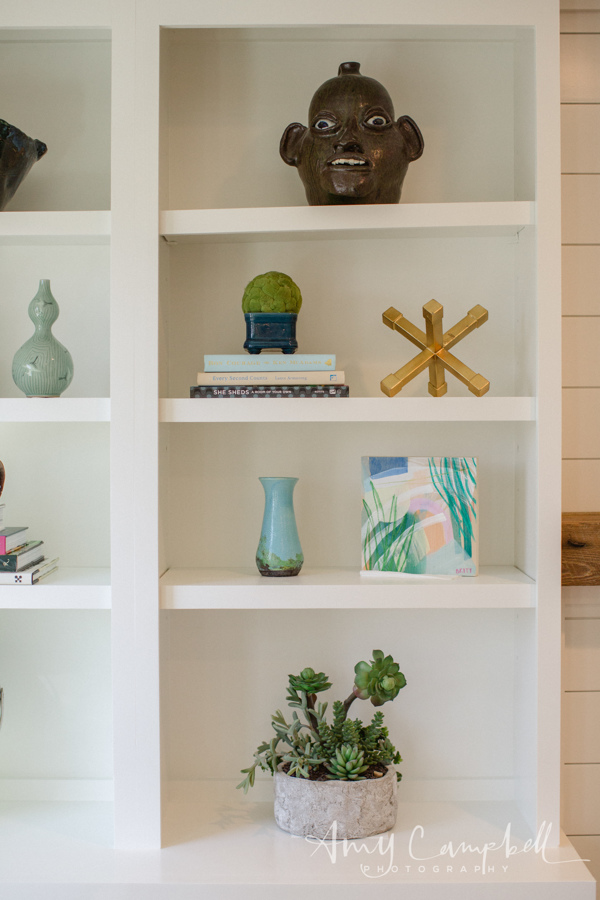
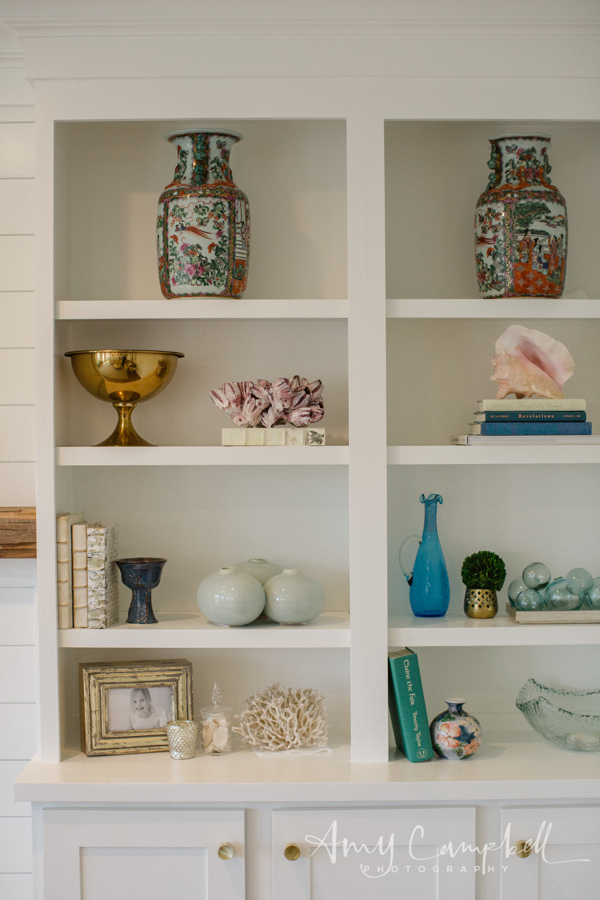
The first thing I wanted to do was get the globe down to the bottom to create an “anchor” of sorts to the shelves. It’s a big object and so it looks better on the bottom rather than on one of the middle shelves. I balanced it out by similarly placing single larger items on the top shelves. This way you get a kind of visual balance between top and bottom, and it looks less busy. You sort of frame out the bottom and top, and then do smaller items in the middle. I like how the two matching vases look on the top right shelves.
Books!
The client had books in different places in the house so while were on the call she gathered some up to add to the shelves. Bookshelves look best when they have more books on them then objects, or at least a 50-50 arrangement. As you can see, she had some objects stacked on top of a single book. That was definitely a great start! All I did was add to the book stacks, since it tends to look better to have a pile of books with an object on top, rather than just one book with an object on top.
Subtract, then Add
There were a few things in place that didn’t quite fit – the flag inside the triangle case, for example, was a little too snug, so I had her remove that. Aside from that it was more about adding, since as you can see the shelves were pretty minimal, with about one object per shelf. I had her add in some more things to make it look more interesting and full, but still airy and clean. While the top and bottom shelves do well with just one large object per shelf, you want to make sure that in the middle shelves you have a more layered look, with books, objects of varying heights, and two or more items per shelf.
Styling Strategies
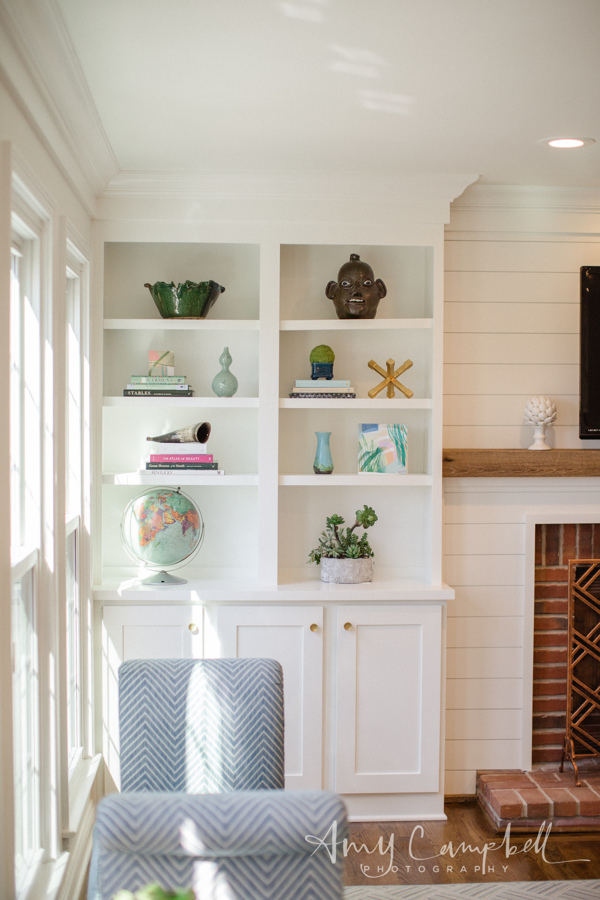
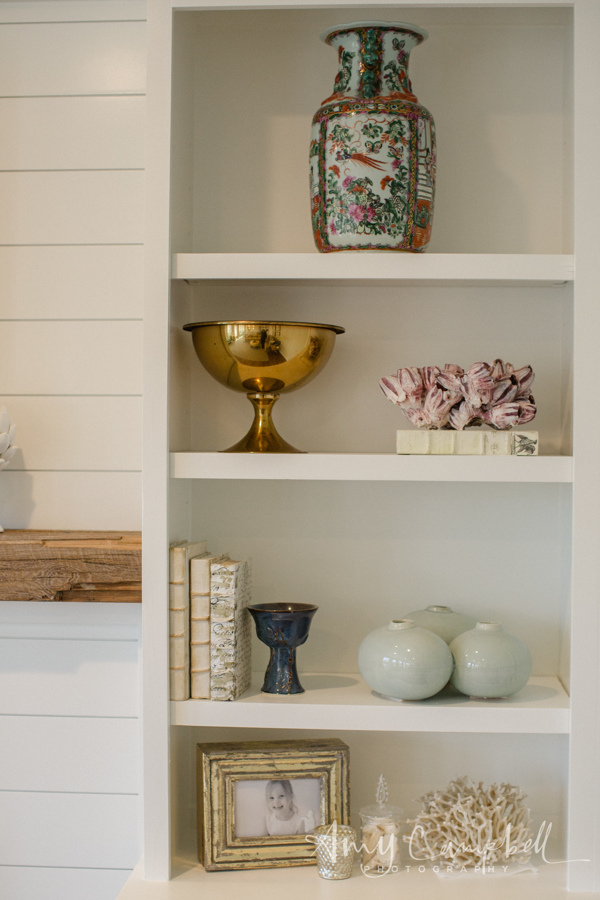
One arrangement we repeated a bit was to do a stack of books with an object on top, and then a taller object next to the stack. It looks layered, varied, and interesting.
In the image above you can see that we did some books vertical, and some stacked horizontally. I showed the client how to stack books so they create a pyramid shape, which I find to be most pleasing to the eye. We used objects she already had as bookends to go against vertical leaning books, and also added in a framed family photo for a personal touch!
We also paid attention to the colors to make sure that they melded together – she had a great mix of blue, green, gold, and neutrals, and once we got everything arranged the color scheme kind of revealed itself! When styling bookshelves it definitely isn’t a necessity to have a color palette, but doing so can make the overall look feel less busy and more neutral.
As you can see, the client had a really nice collection of items already – it was just a matter of moving things around to make them really shine!
I really enjoyed working on this because I think it just goes to show what a big difference you can make in your space without spending money or even exerting a ton of effort! We did this over the course of about an hour and the client was really pleased with the way it came out. She recently moved which is why we have these great “after” images, shot by Amy Campbell Photography.
If you have any areas of your home that you’d like styling or design help with, feel free to email me! I can work in person if you’re located in NYC or via FaceTime, as we did here.
Beautiful! We rebuilt our home after losing everything to Hurricane Harvey. I have two huge builtins on either side of the fireplace. I’m going to try some of these ideas and do some touch ups. If I hit a snag, I’ll get in touch. You are such an inspiration to me! I had a couple of your photos but they were also lost to Harvey. He was a real beast. Keep up the wonderful blog. I love your photography! You have a real eye!
Julie I am so sorry to hear that! I can’t imagine what you must be going through, that’s just heartbreaking. I hope all is going well as you rebuild. Thank you so much for your kind words. I would love to replace the photos for you – please email me!